2011 Low Profile Gaming Graphics Card
(installed into a Dell 980 on 6/2/2011)
![]()
2011 Low Profile Gaming Graphics Card(installed into a Dell 980 on 6/2/2011)
|
|
What is this web page about? I bought a Dell 980 Small Form Factor as a computer to work at home on (I'm a programmer), but I thought I could also play some games on it. It turns out this was a mistake, the graphics cards that fit inside this computer are called "low profile" or "half height" PCIe cards, and the vast majority of 3D gaming graphics cards need a full height slot. My Dell 980 originally came with an NVIDIA NVS 420 Quadro which turned out to be truly terrible (very slow) at 3D games. I got it to drive my 30" monitor, 2560x1600 pixels, and it works great for that, but just is not very fast for anything 3D.
Solution: I found a mid-range low profile graphics card called an MSI ATX Radeon HD R5670 (Tom's Hardware Review Here) that I THOUGHT might fit inside the 980, but it turned out I had to use a Dremel tool to modify both the Dell 980 and ALSO the card itself to get it to wedge inside. This took me a few hours.
Mistakes and Worries: I *thought* I was going to need a more powerful power supply than the stock one in the box (235 Watt). But the card seems to work and drive 3D games without anything other than stock. On the other hand, even though the graphics card claimed to be "low profile" the WIDTH of the card meant I could NOT get this graphics card to entirely fit inside the sealed computer, but I got within 1/4" of getting the Dell 980 closed back up again so I use electrical tape to hold the box closed. We'll see how it holds up with time. :-)
Below are some pictures of the case and card modification and pictures of how it fits together. Click on any picture to get a HUGE version of that photo.
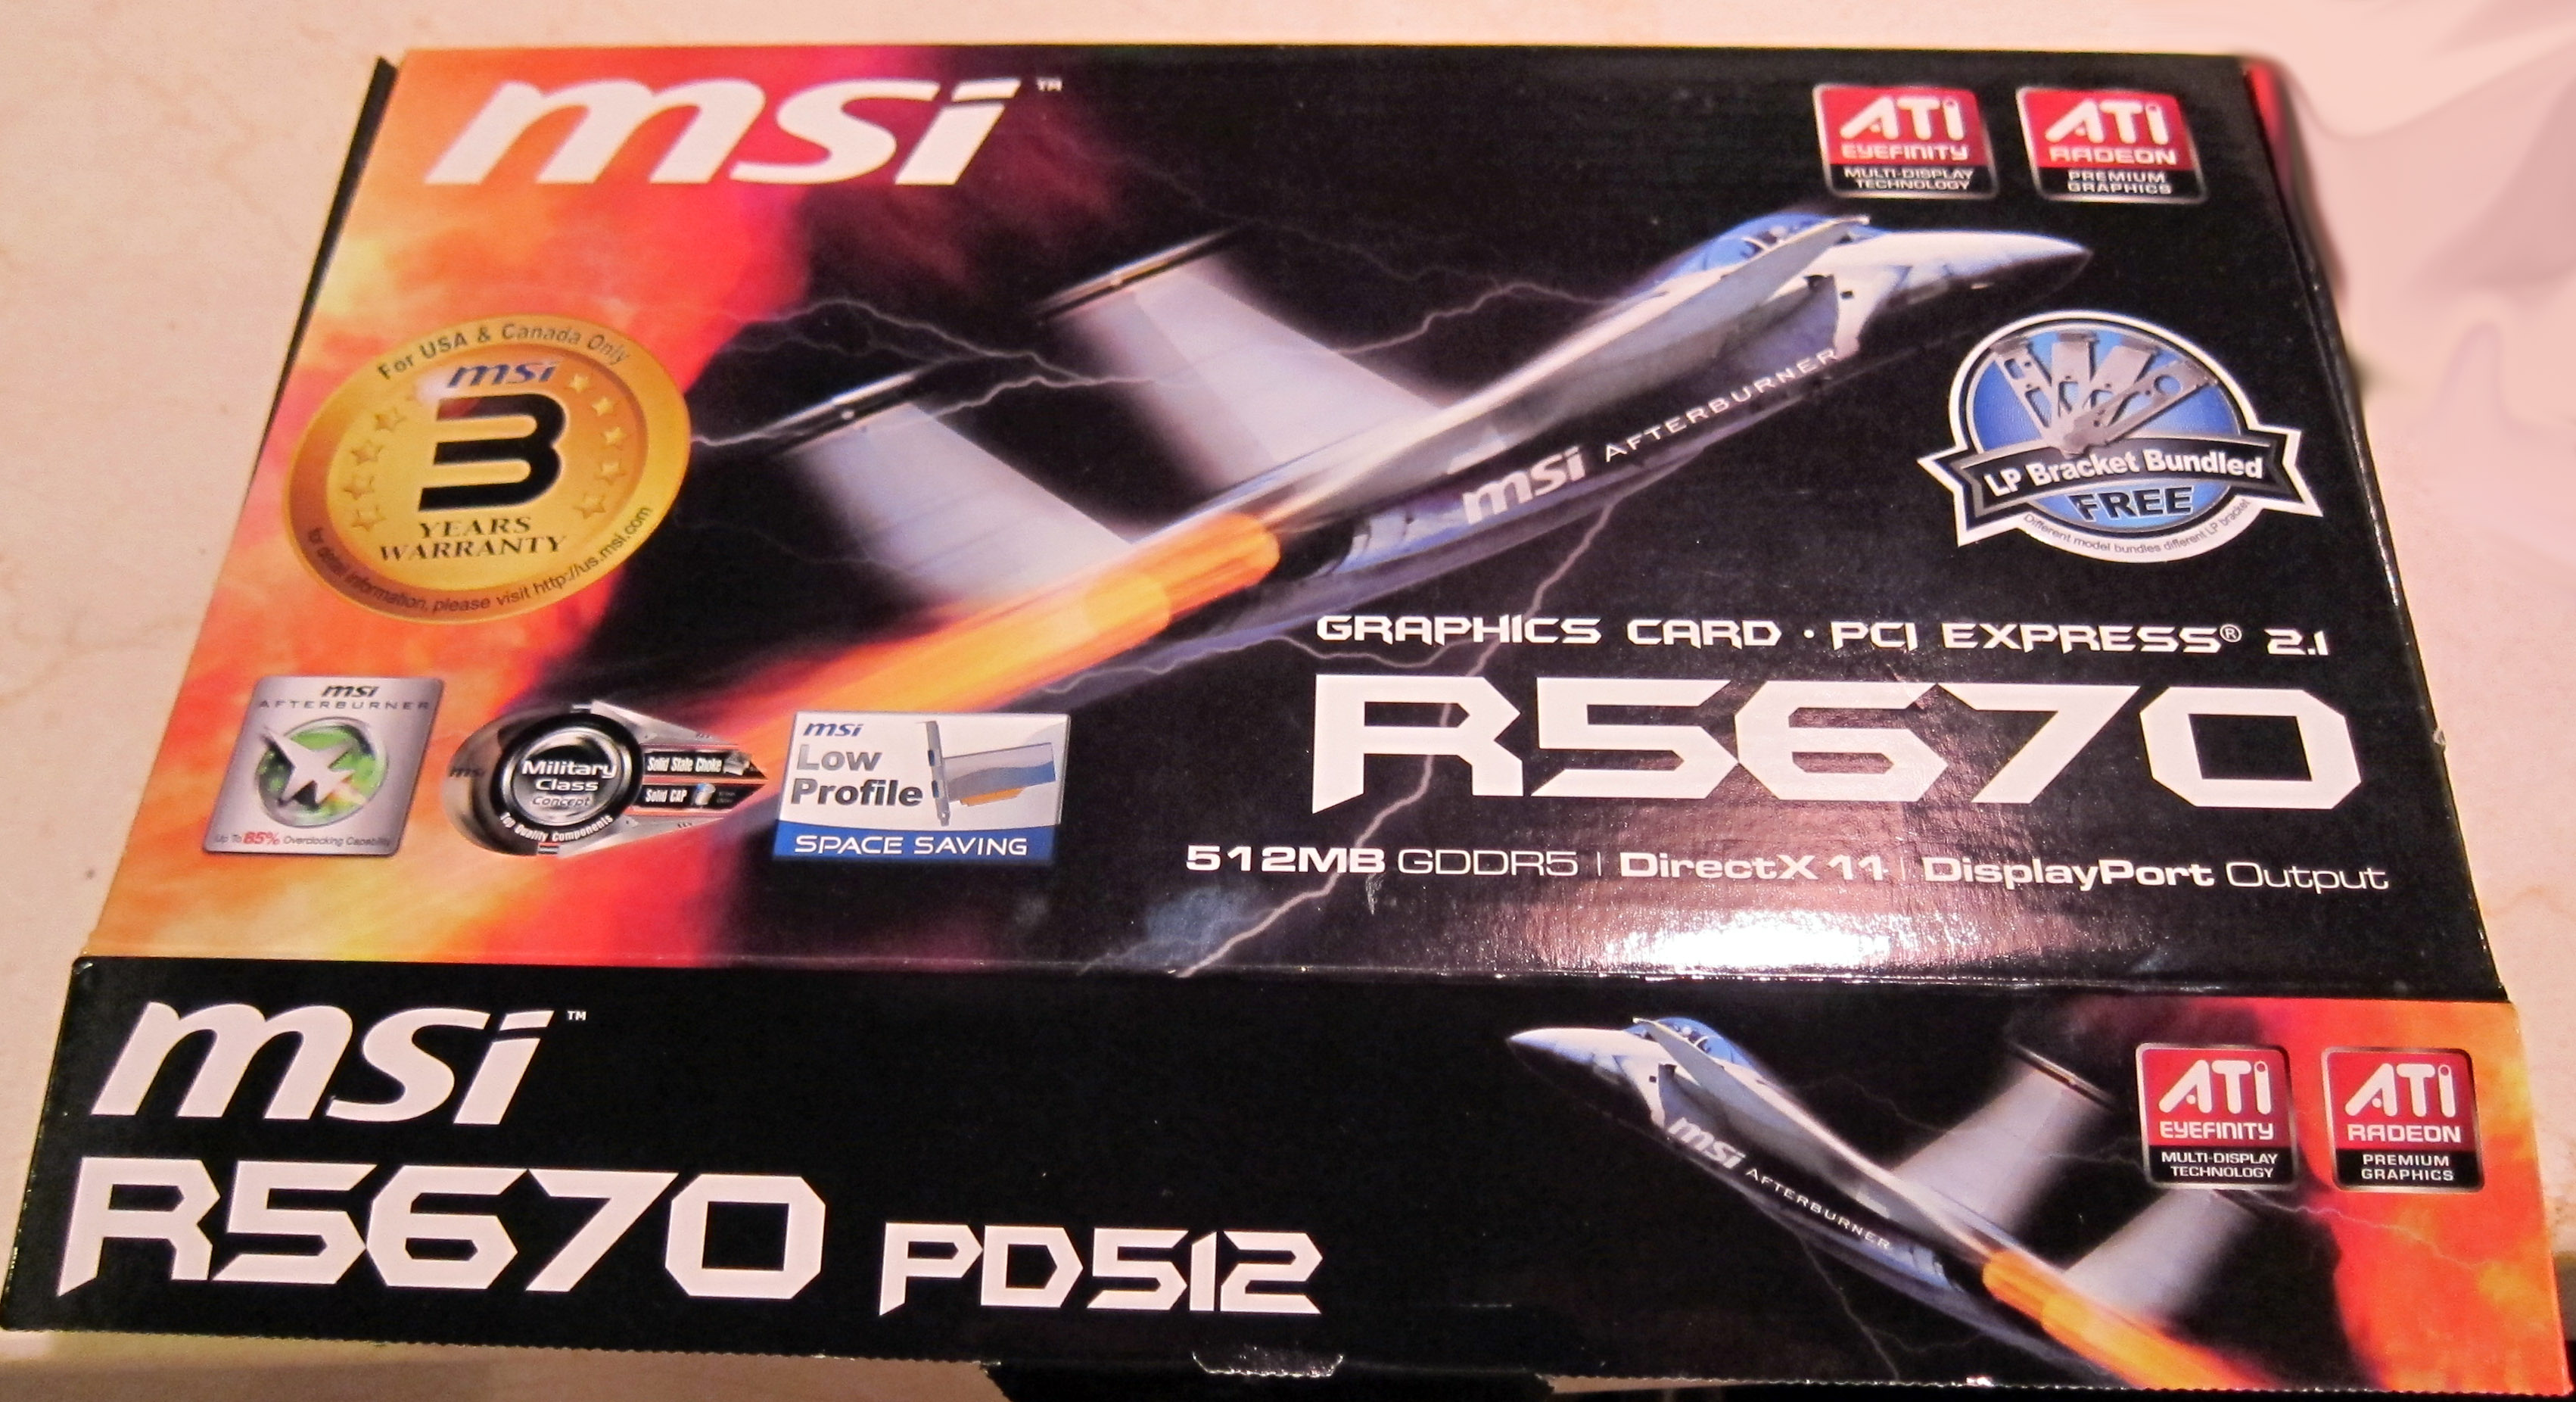
First picture, this is the cover of the box the MSI ATX Radeon HD R5670 came in. Notice the "Low Profile" tag on the front of the box. Actually it comes pre-configured for a full height slot, but includes a mounting bracket inside (simple swap of two screws).
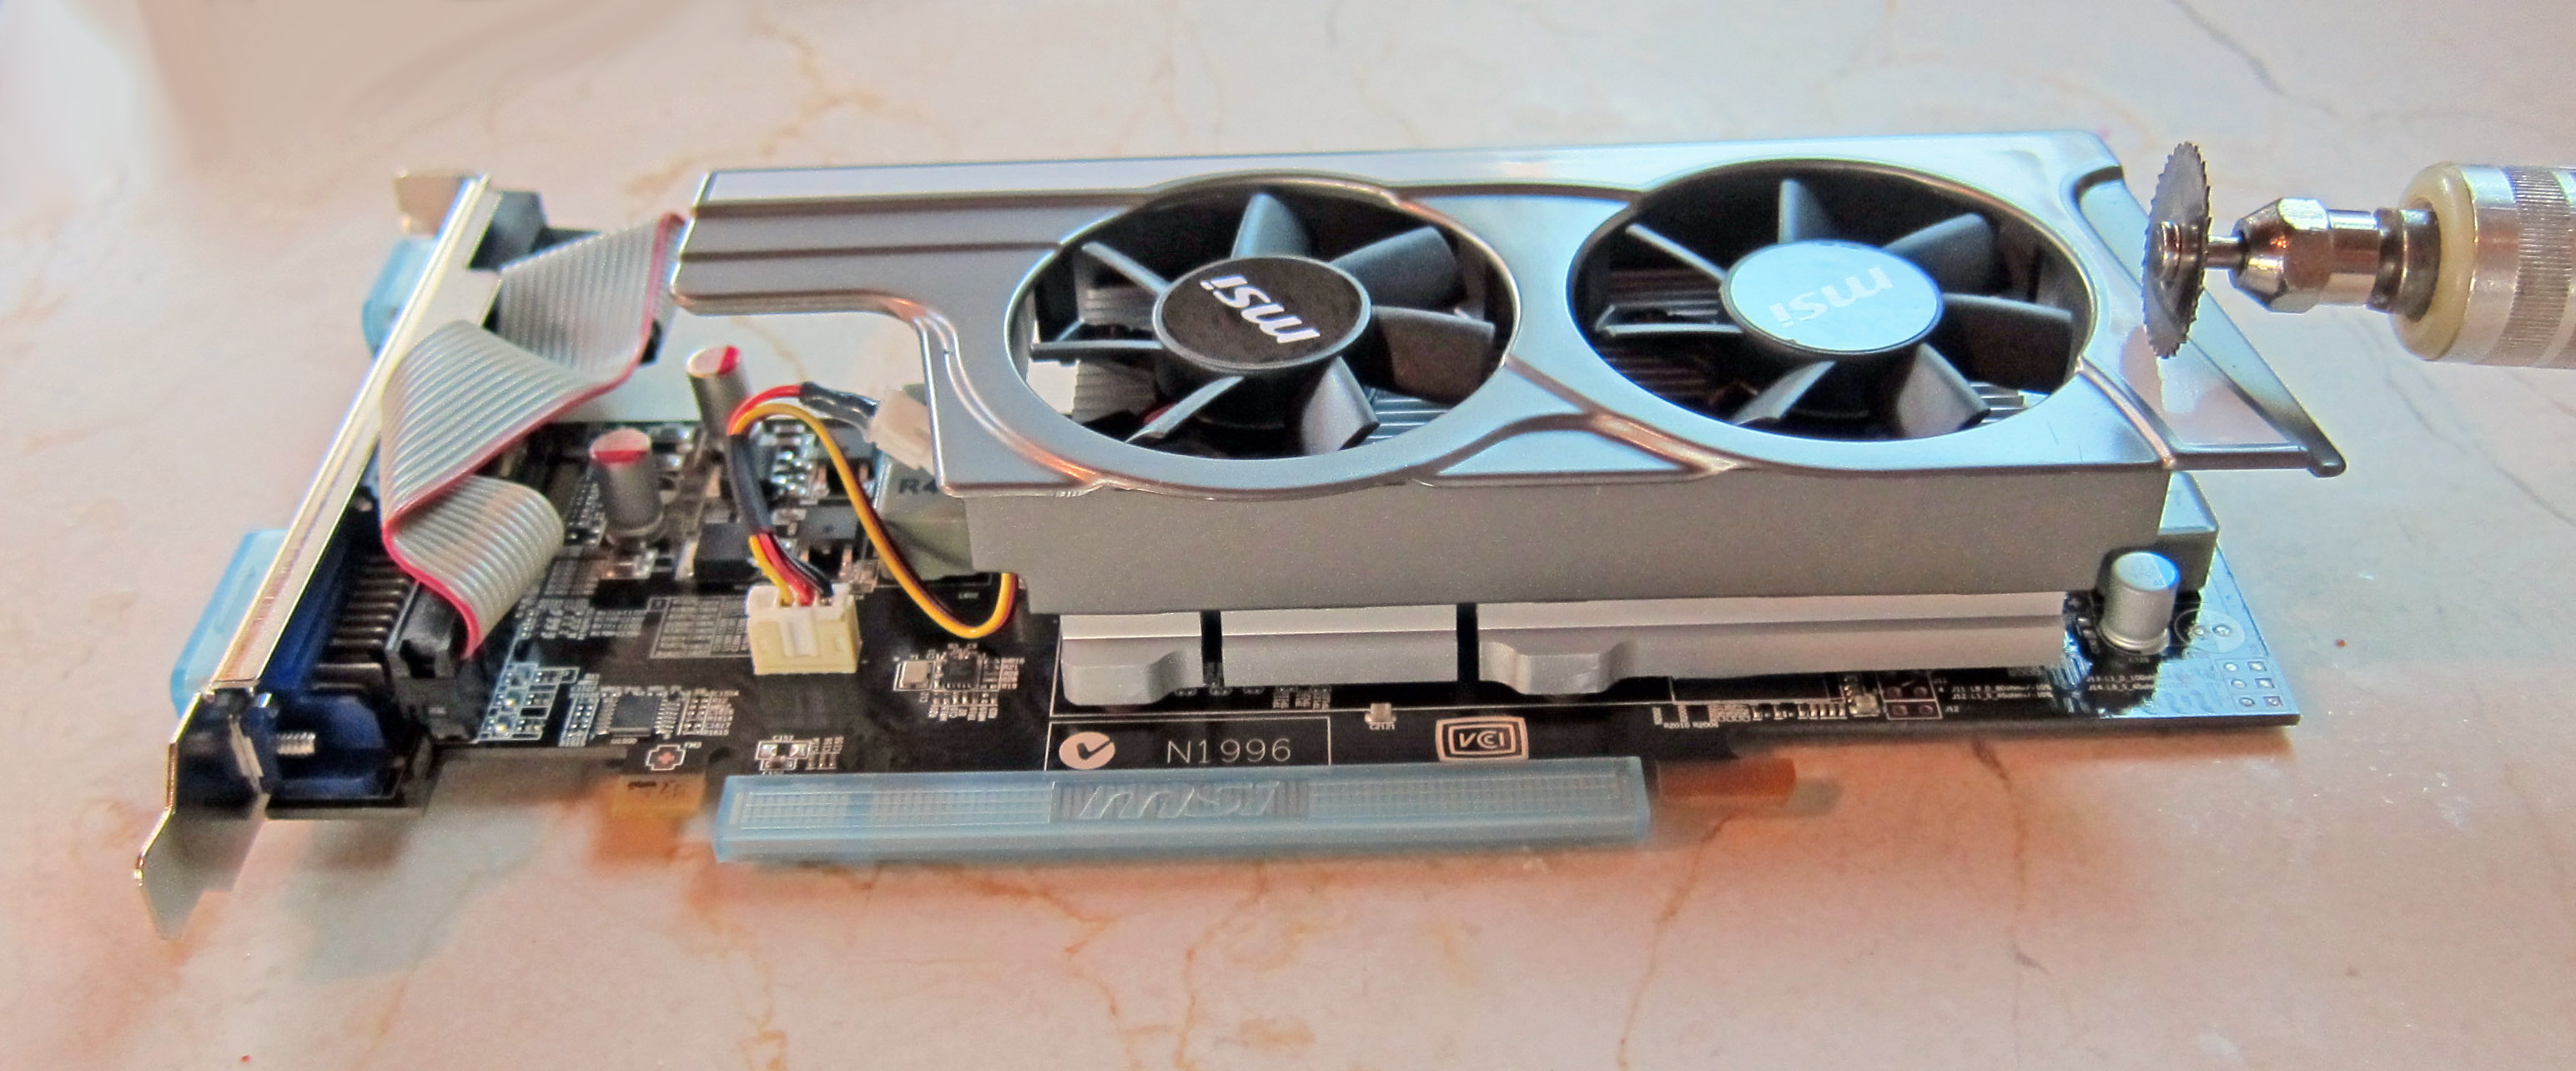
When I popped out the old card and tried to insert this new graphics card (seen below) it immediately became apparent it would not fit, but it MIGHT fit if I sawed parts off the graphics card. Turns out I was right! Below is the original MSI ATX Radeon HD R5670 graphics card immediately before I cut into it with the dremel tool (the dremel is in the picture below).
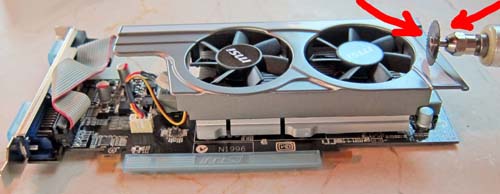
The two red arrows below point at the newly separated piece I cut off. The circled area shows the next piece I have to grind down to get it to fit. I changed from the circular saw dremel tool to a belt sander which worked great.
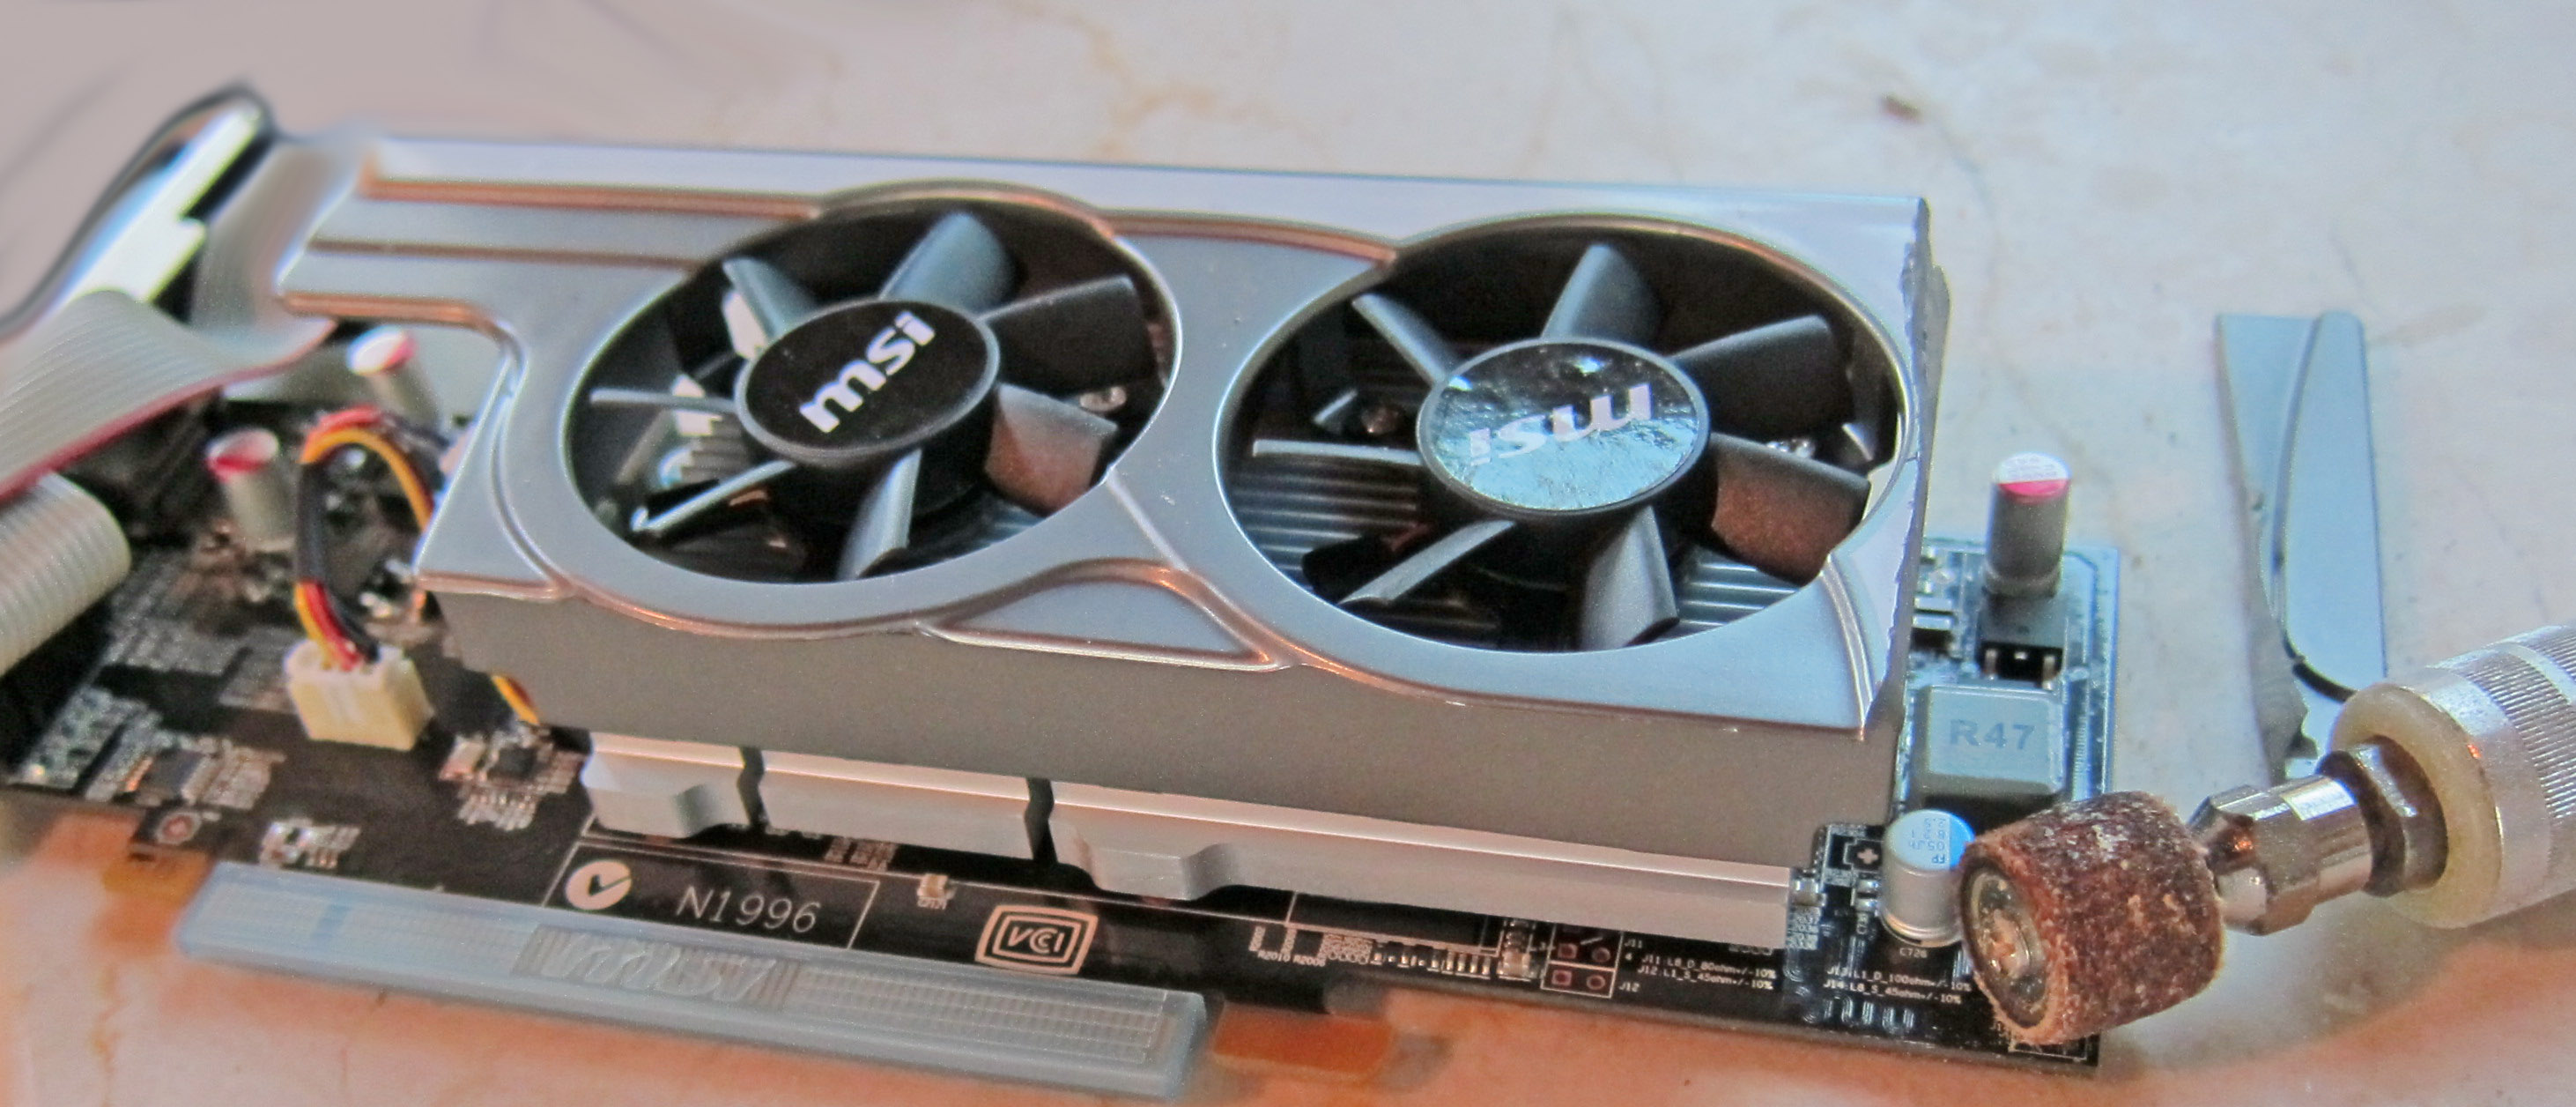
Ok, this is what the card looks like completely modified. This was the end of the mods to the card. The red arrows point to the parts removed.

Ok, now when I inserted the newly modified graphics card into the Dell 980 (seen below) it was stopped by some parts in the existing Dell 980 case. Well, time to void that Dell warranty! :-) In the picture below the circled red piece marked "A" needs to be removed.
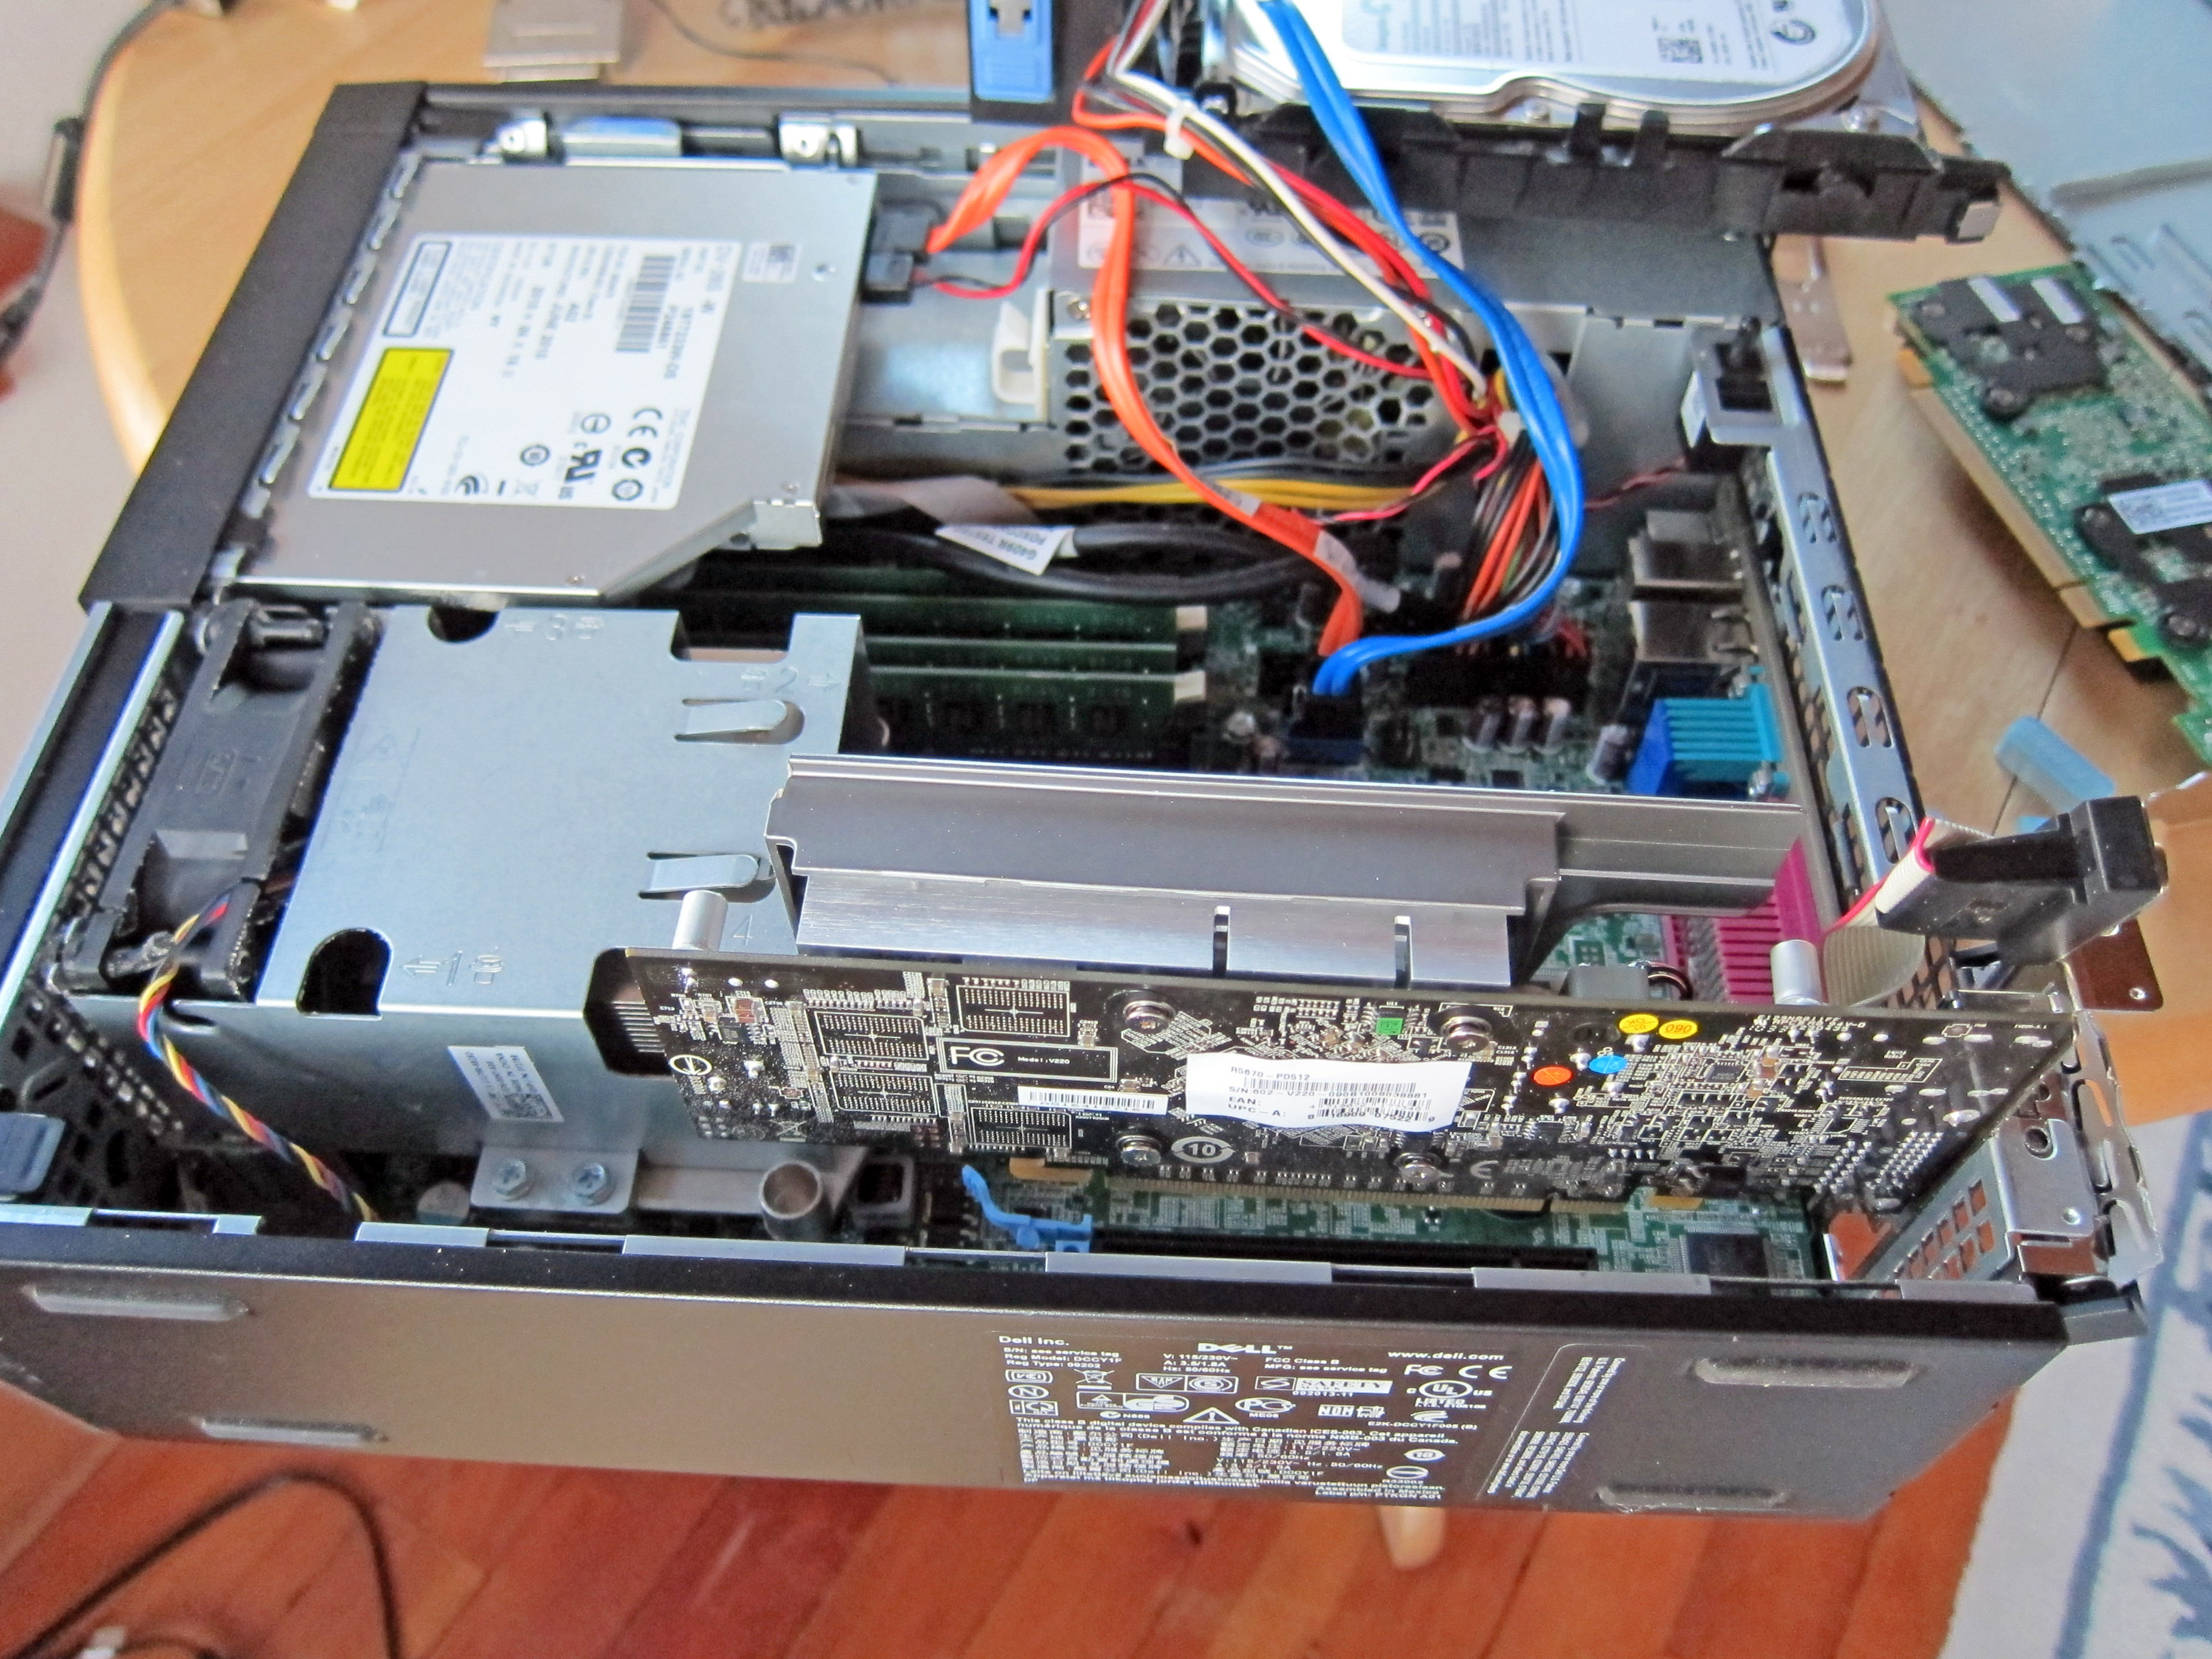
Showing this same exact "half inserted" situation from exactly the opposite side, notice that "B" is VERY TIGHT but will fit with slight pressure, but the nubbin circled "C" must be taken off.
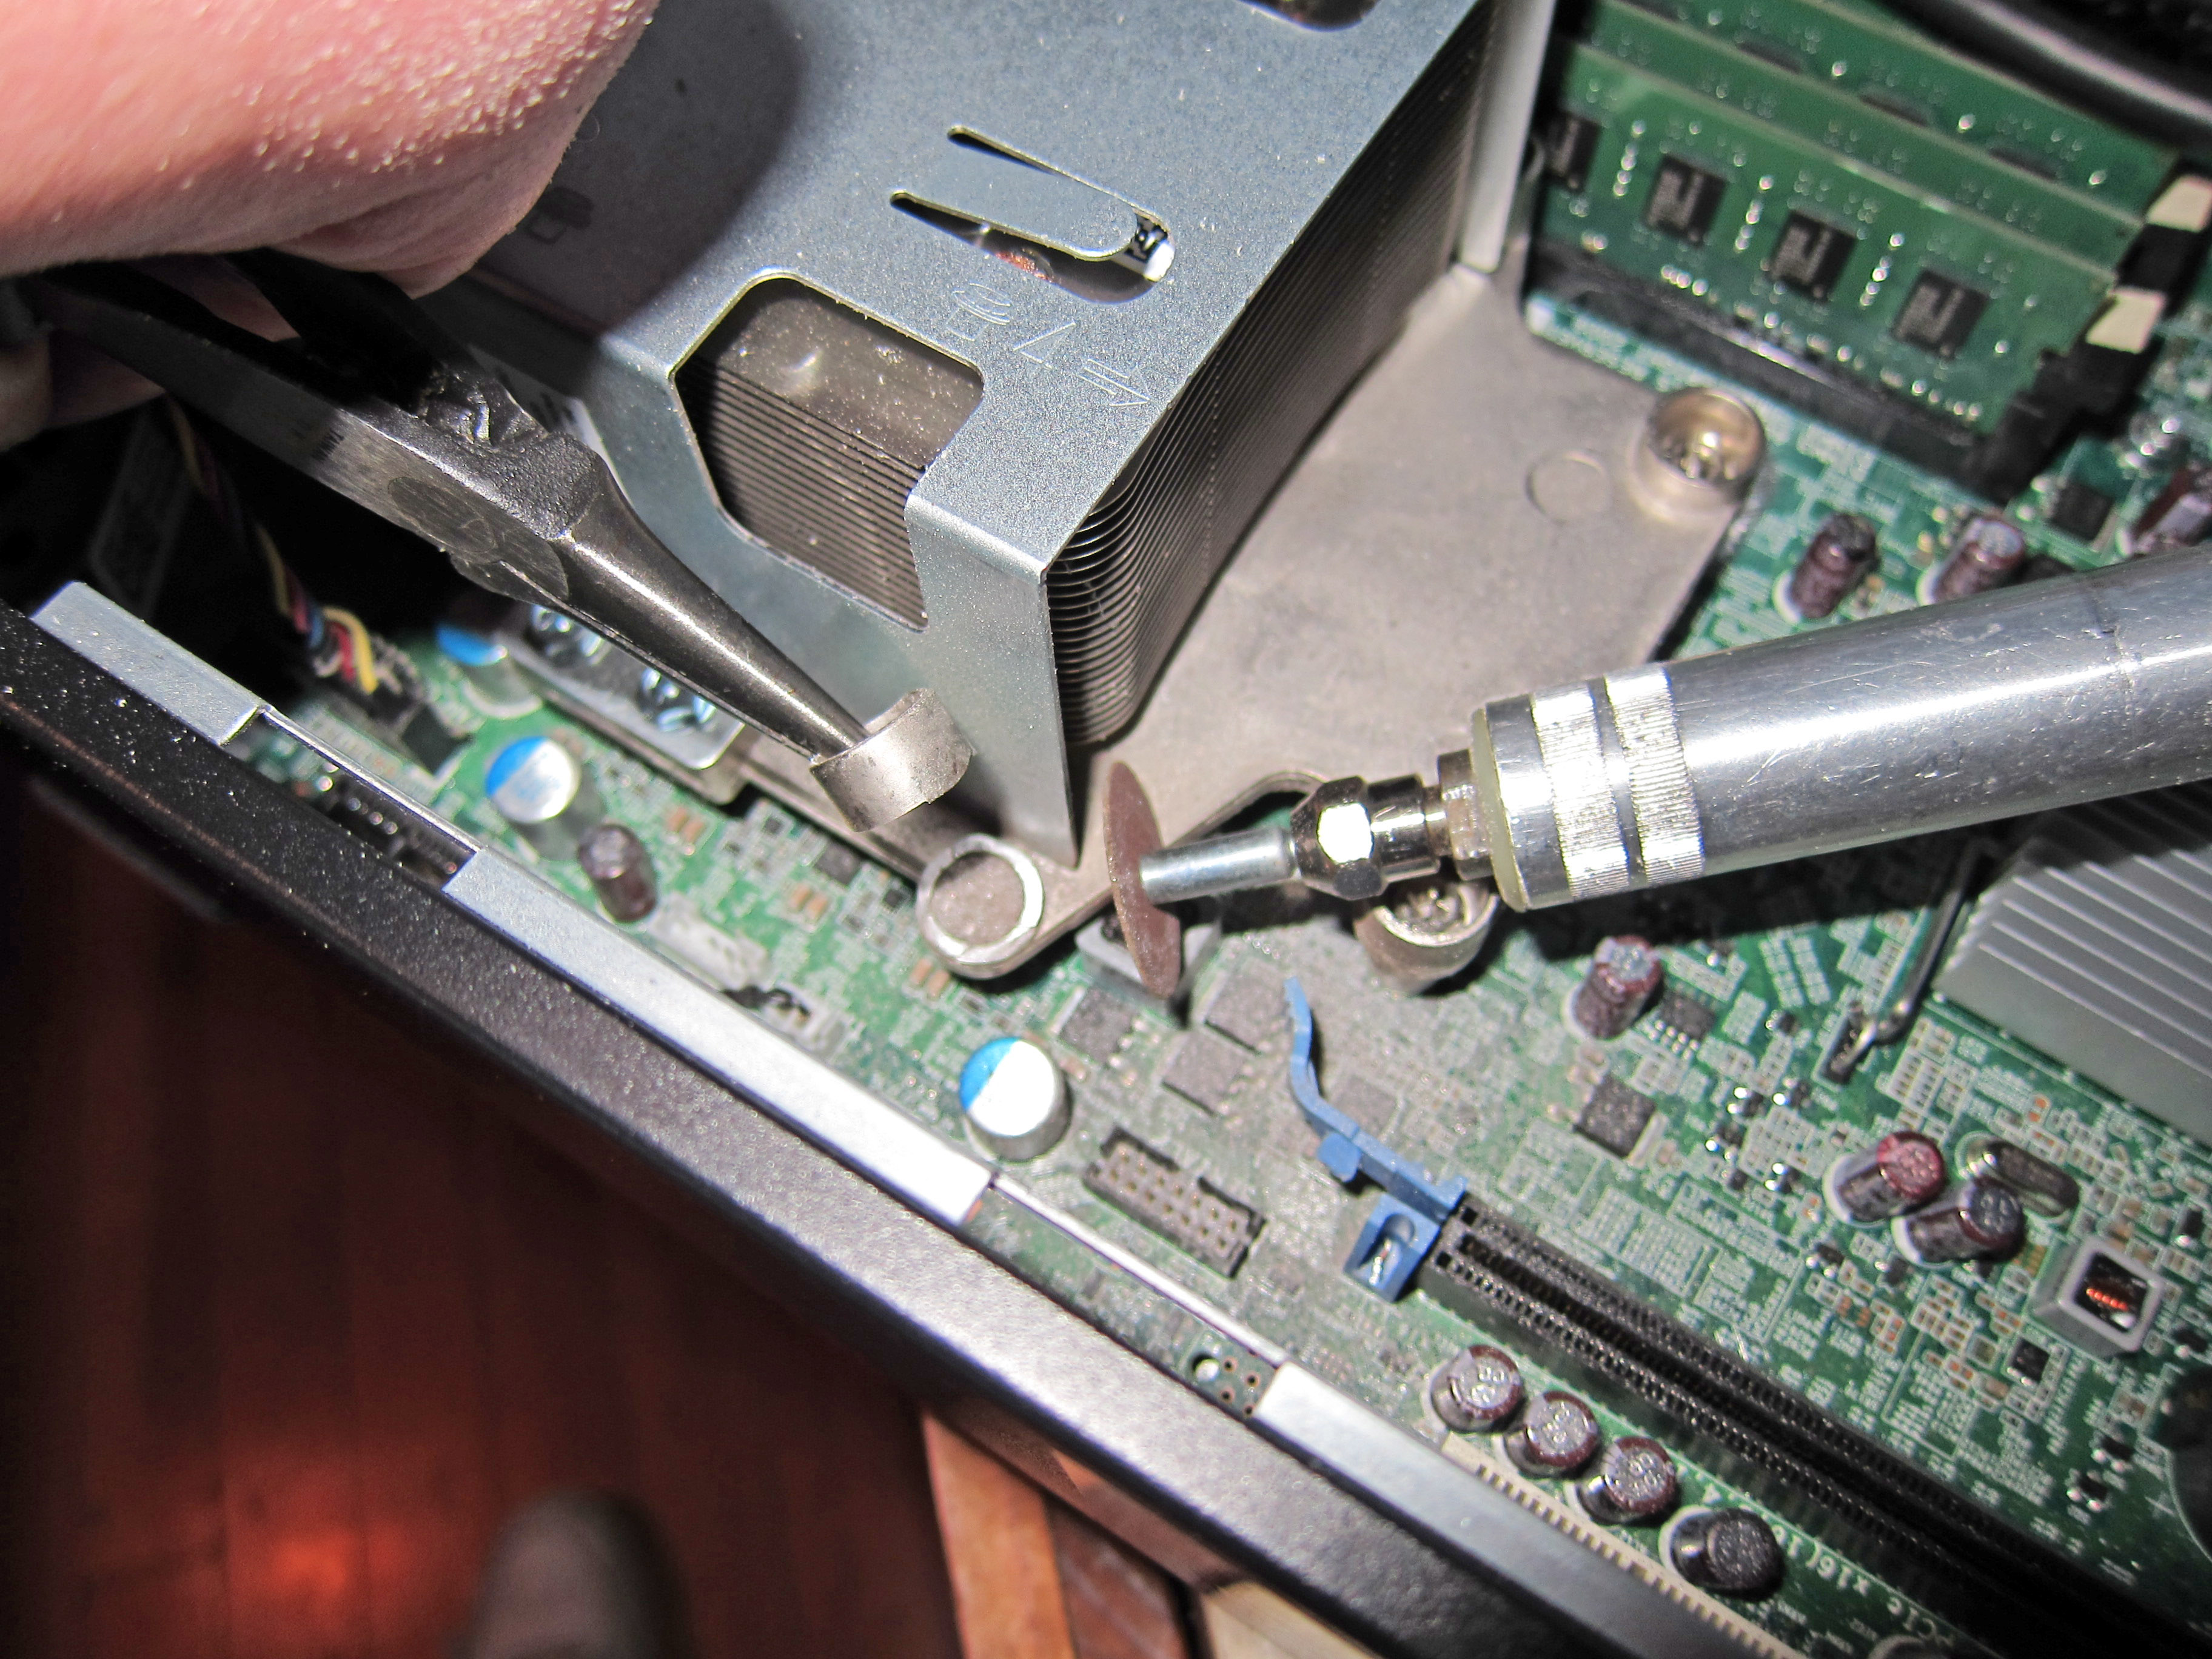
In the picture below, I have cut off one of the nubbins and I am holding it in needle nose pliers ("E"). "F" is where the nubbin was cut off from. I used a few disposable "cutting wheels" ("G") on the dremmel tool. Next I have to cut off "H" in the same way.
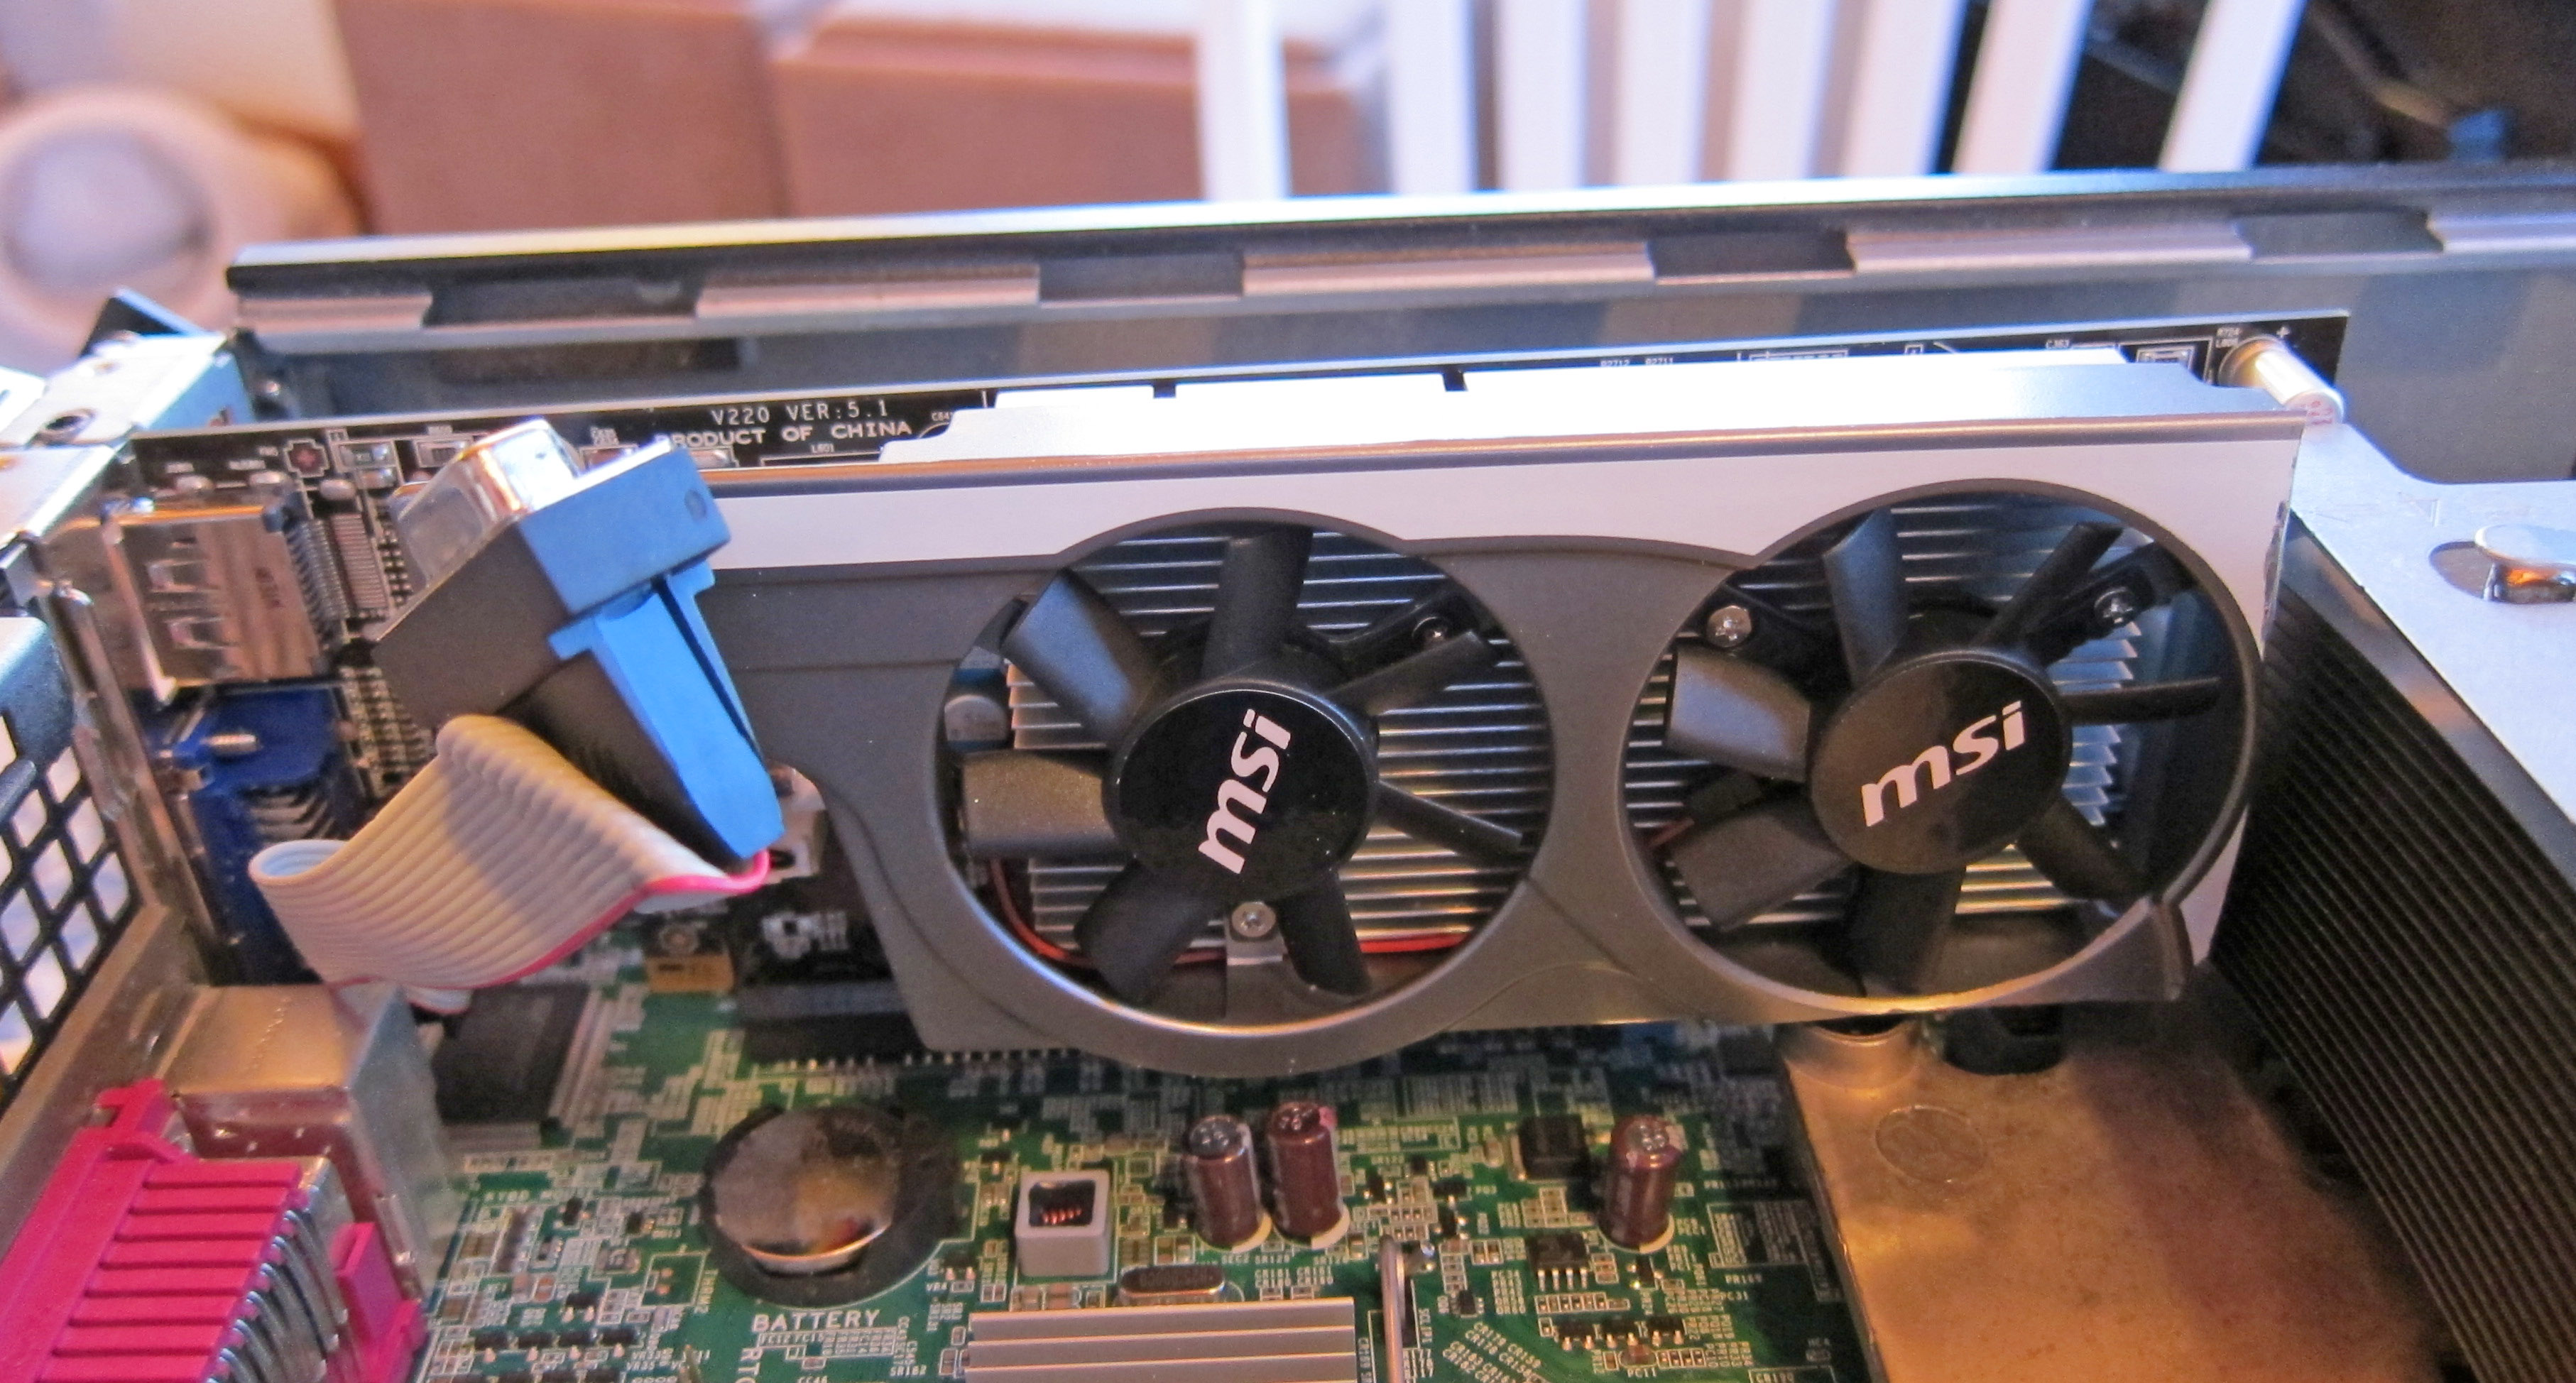
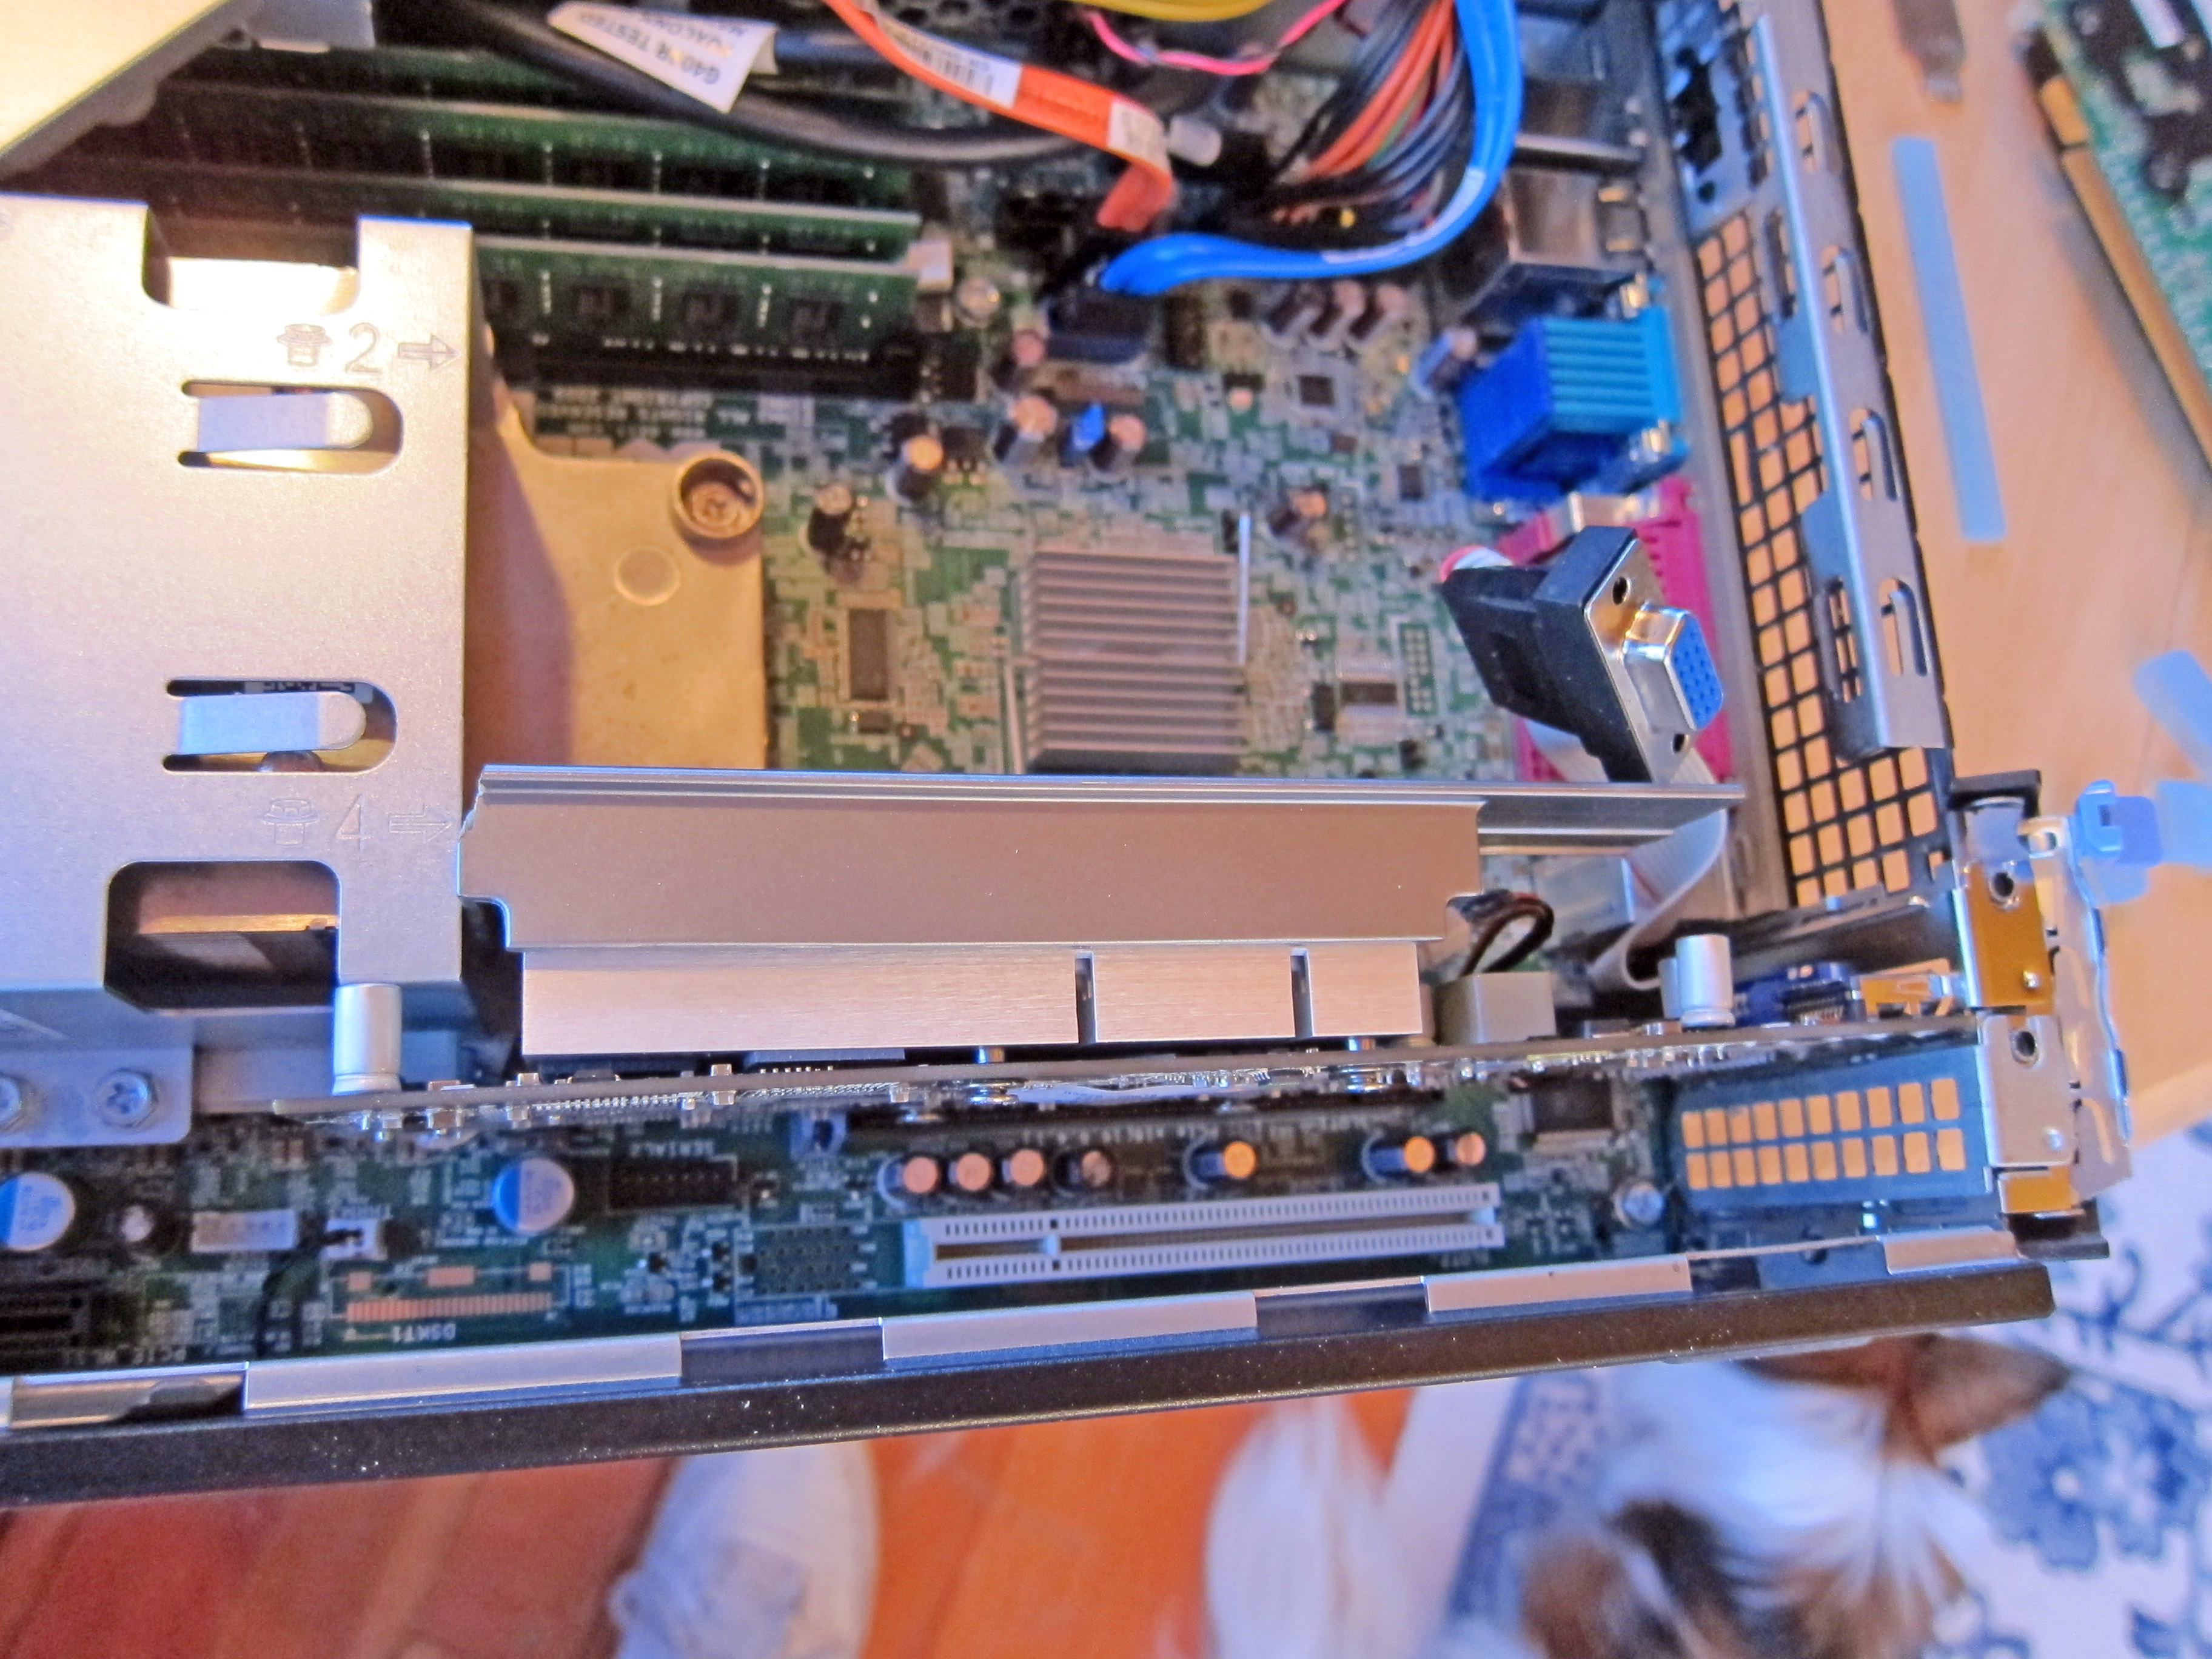
SUCCESS! In the picture below you see the card finally correctly seated in the PCIe slot. Notice "I" is physically pressed up against the heat sink, but it fits. "K" is the VGA graphics, when you go to a low profile bracket this just floats free inside your case. The point "J" below you can see why I needed to saw off BOTH the nubbin on the Dell 980 and ALSO part of the fan housing of the graphics card.
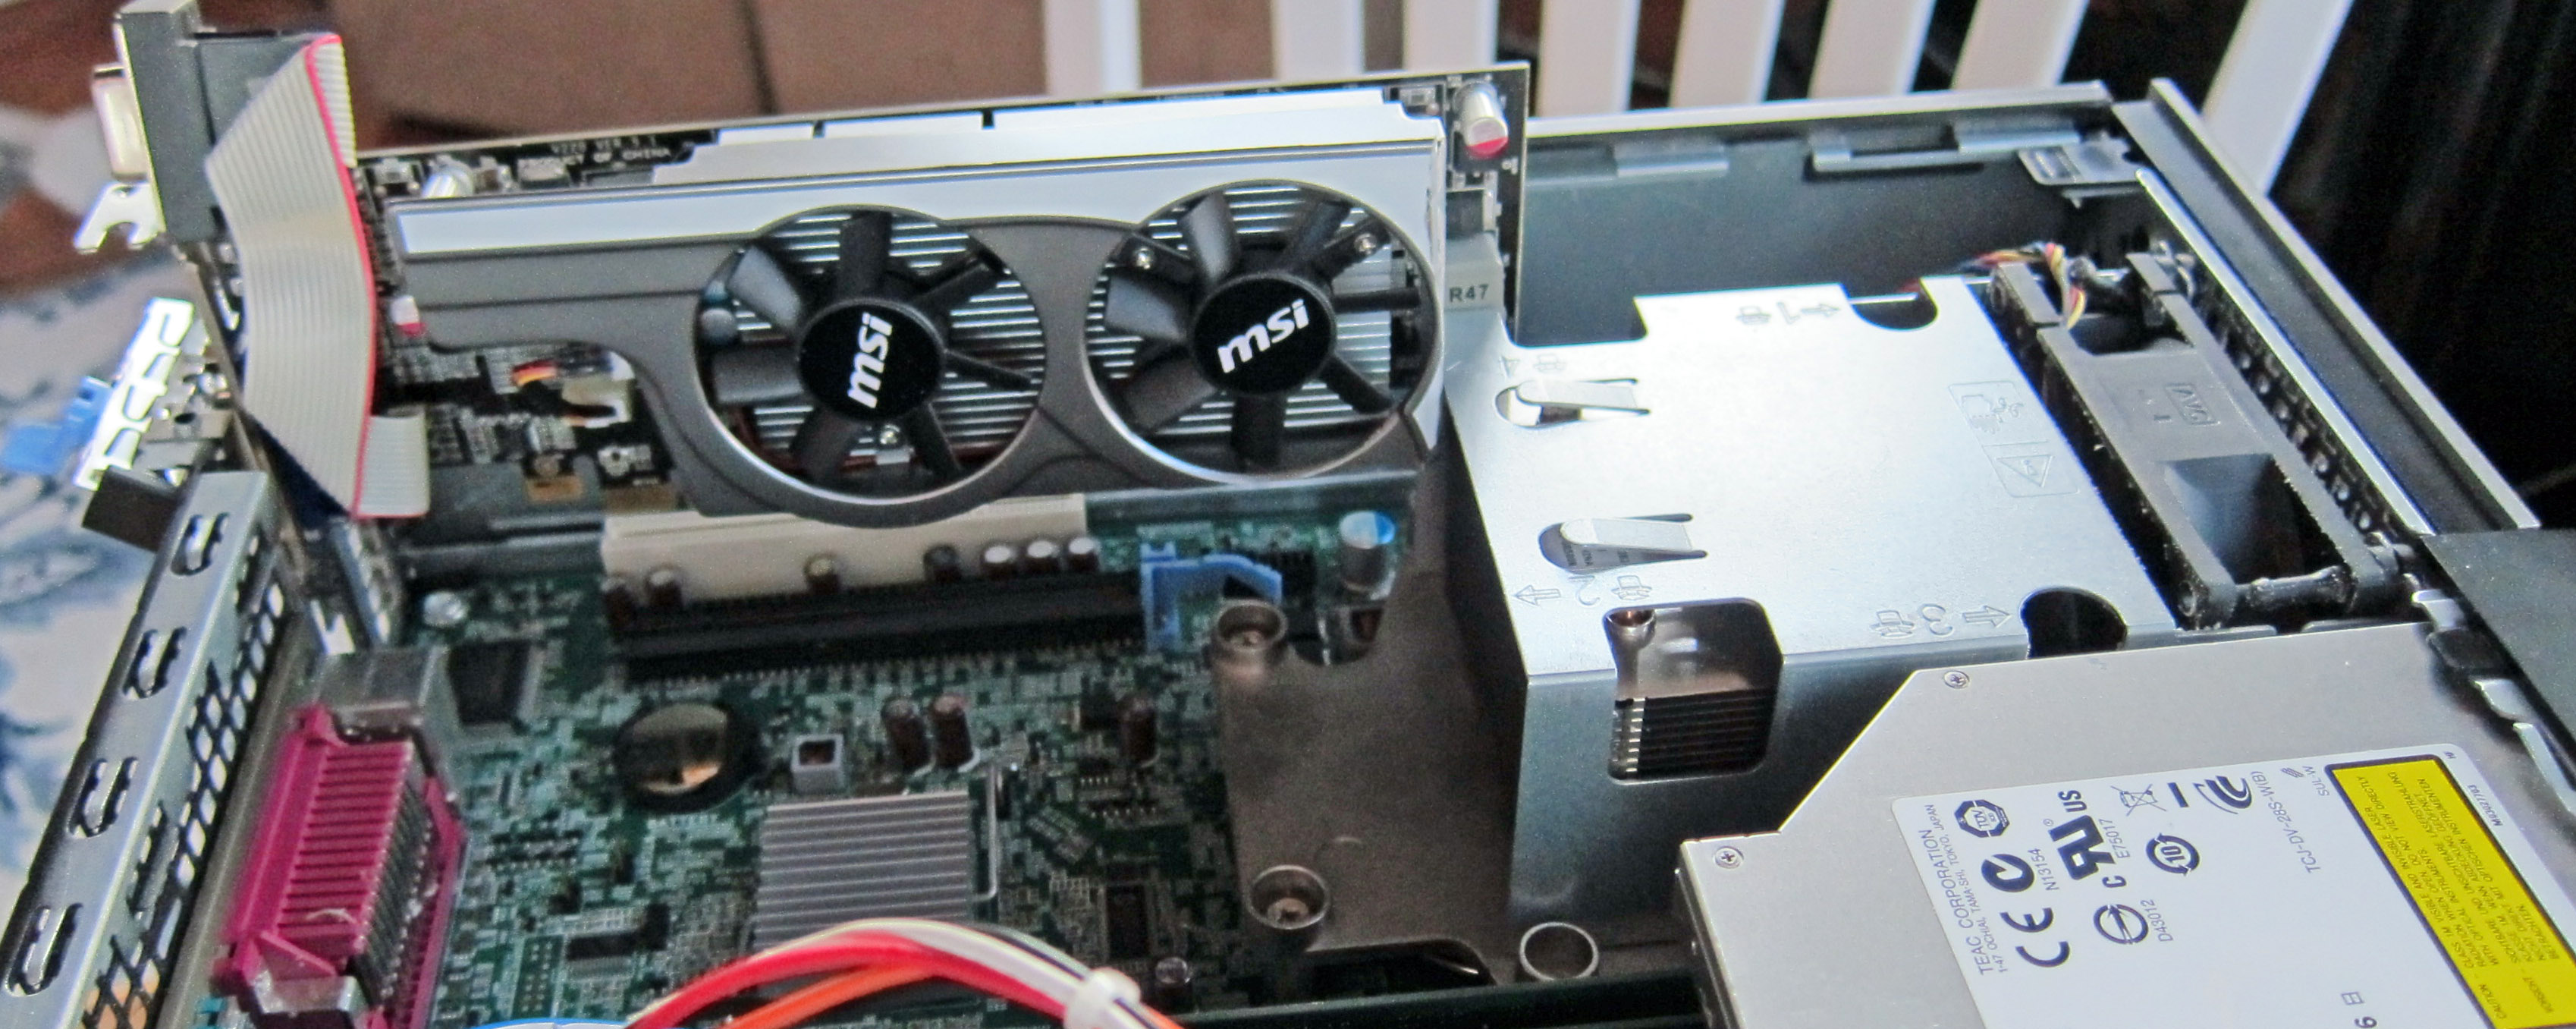
This is the same situation as above, the card is fully seated correctly, just a different angle. Below you see that at "M" the card flexes just a tiny bit because of a component, and directly to the right of "M" is a tight fit where the card presses. Also notice "L" is the free floating VGA adaptor.
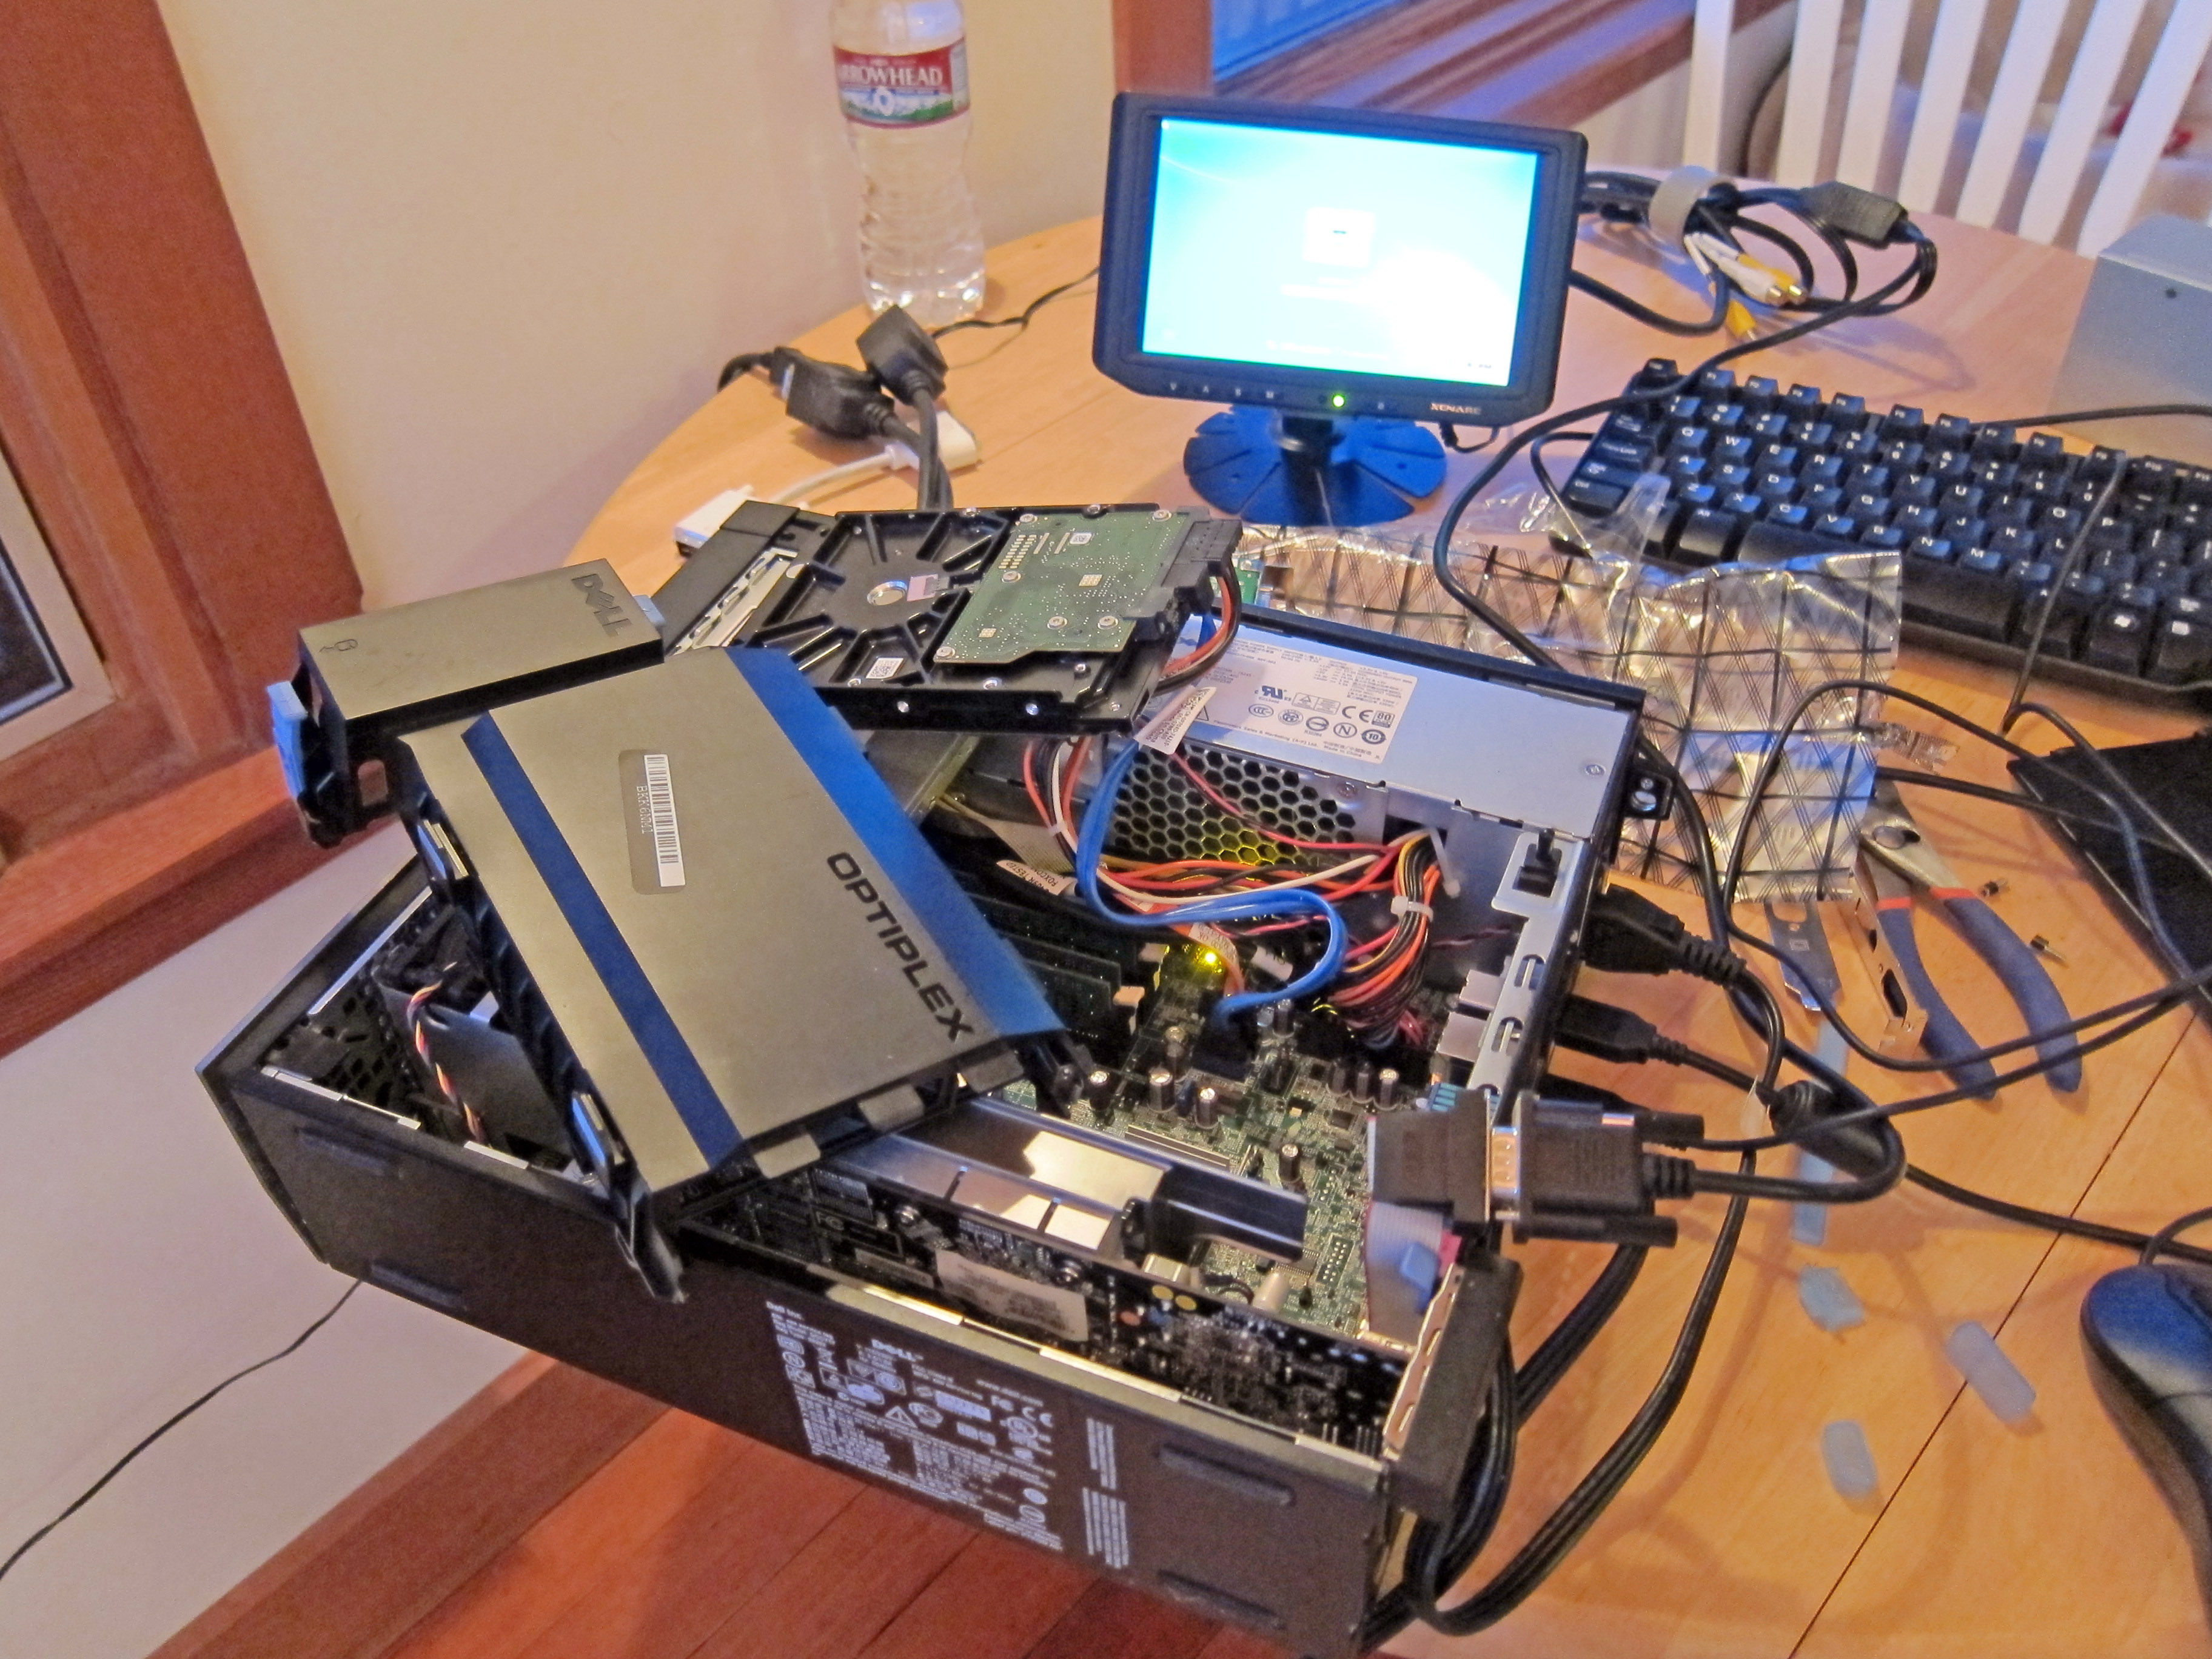
Time to find out if it works (before closing up the box)! I boot it with a monitor "N" attached to the VGA adaptor. SUCCESS!! It boots and drives a monitor!
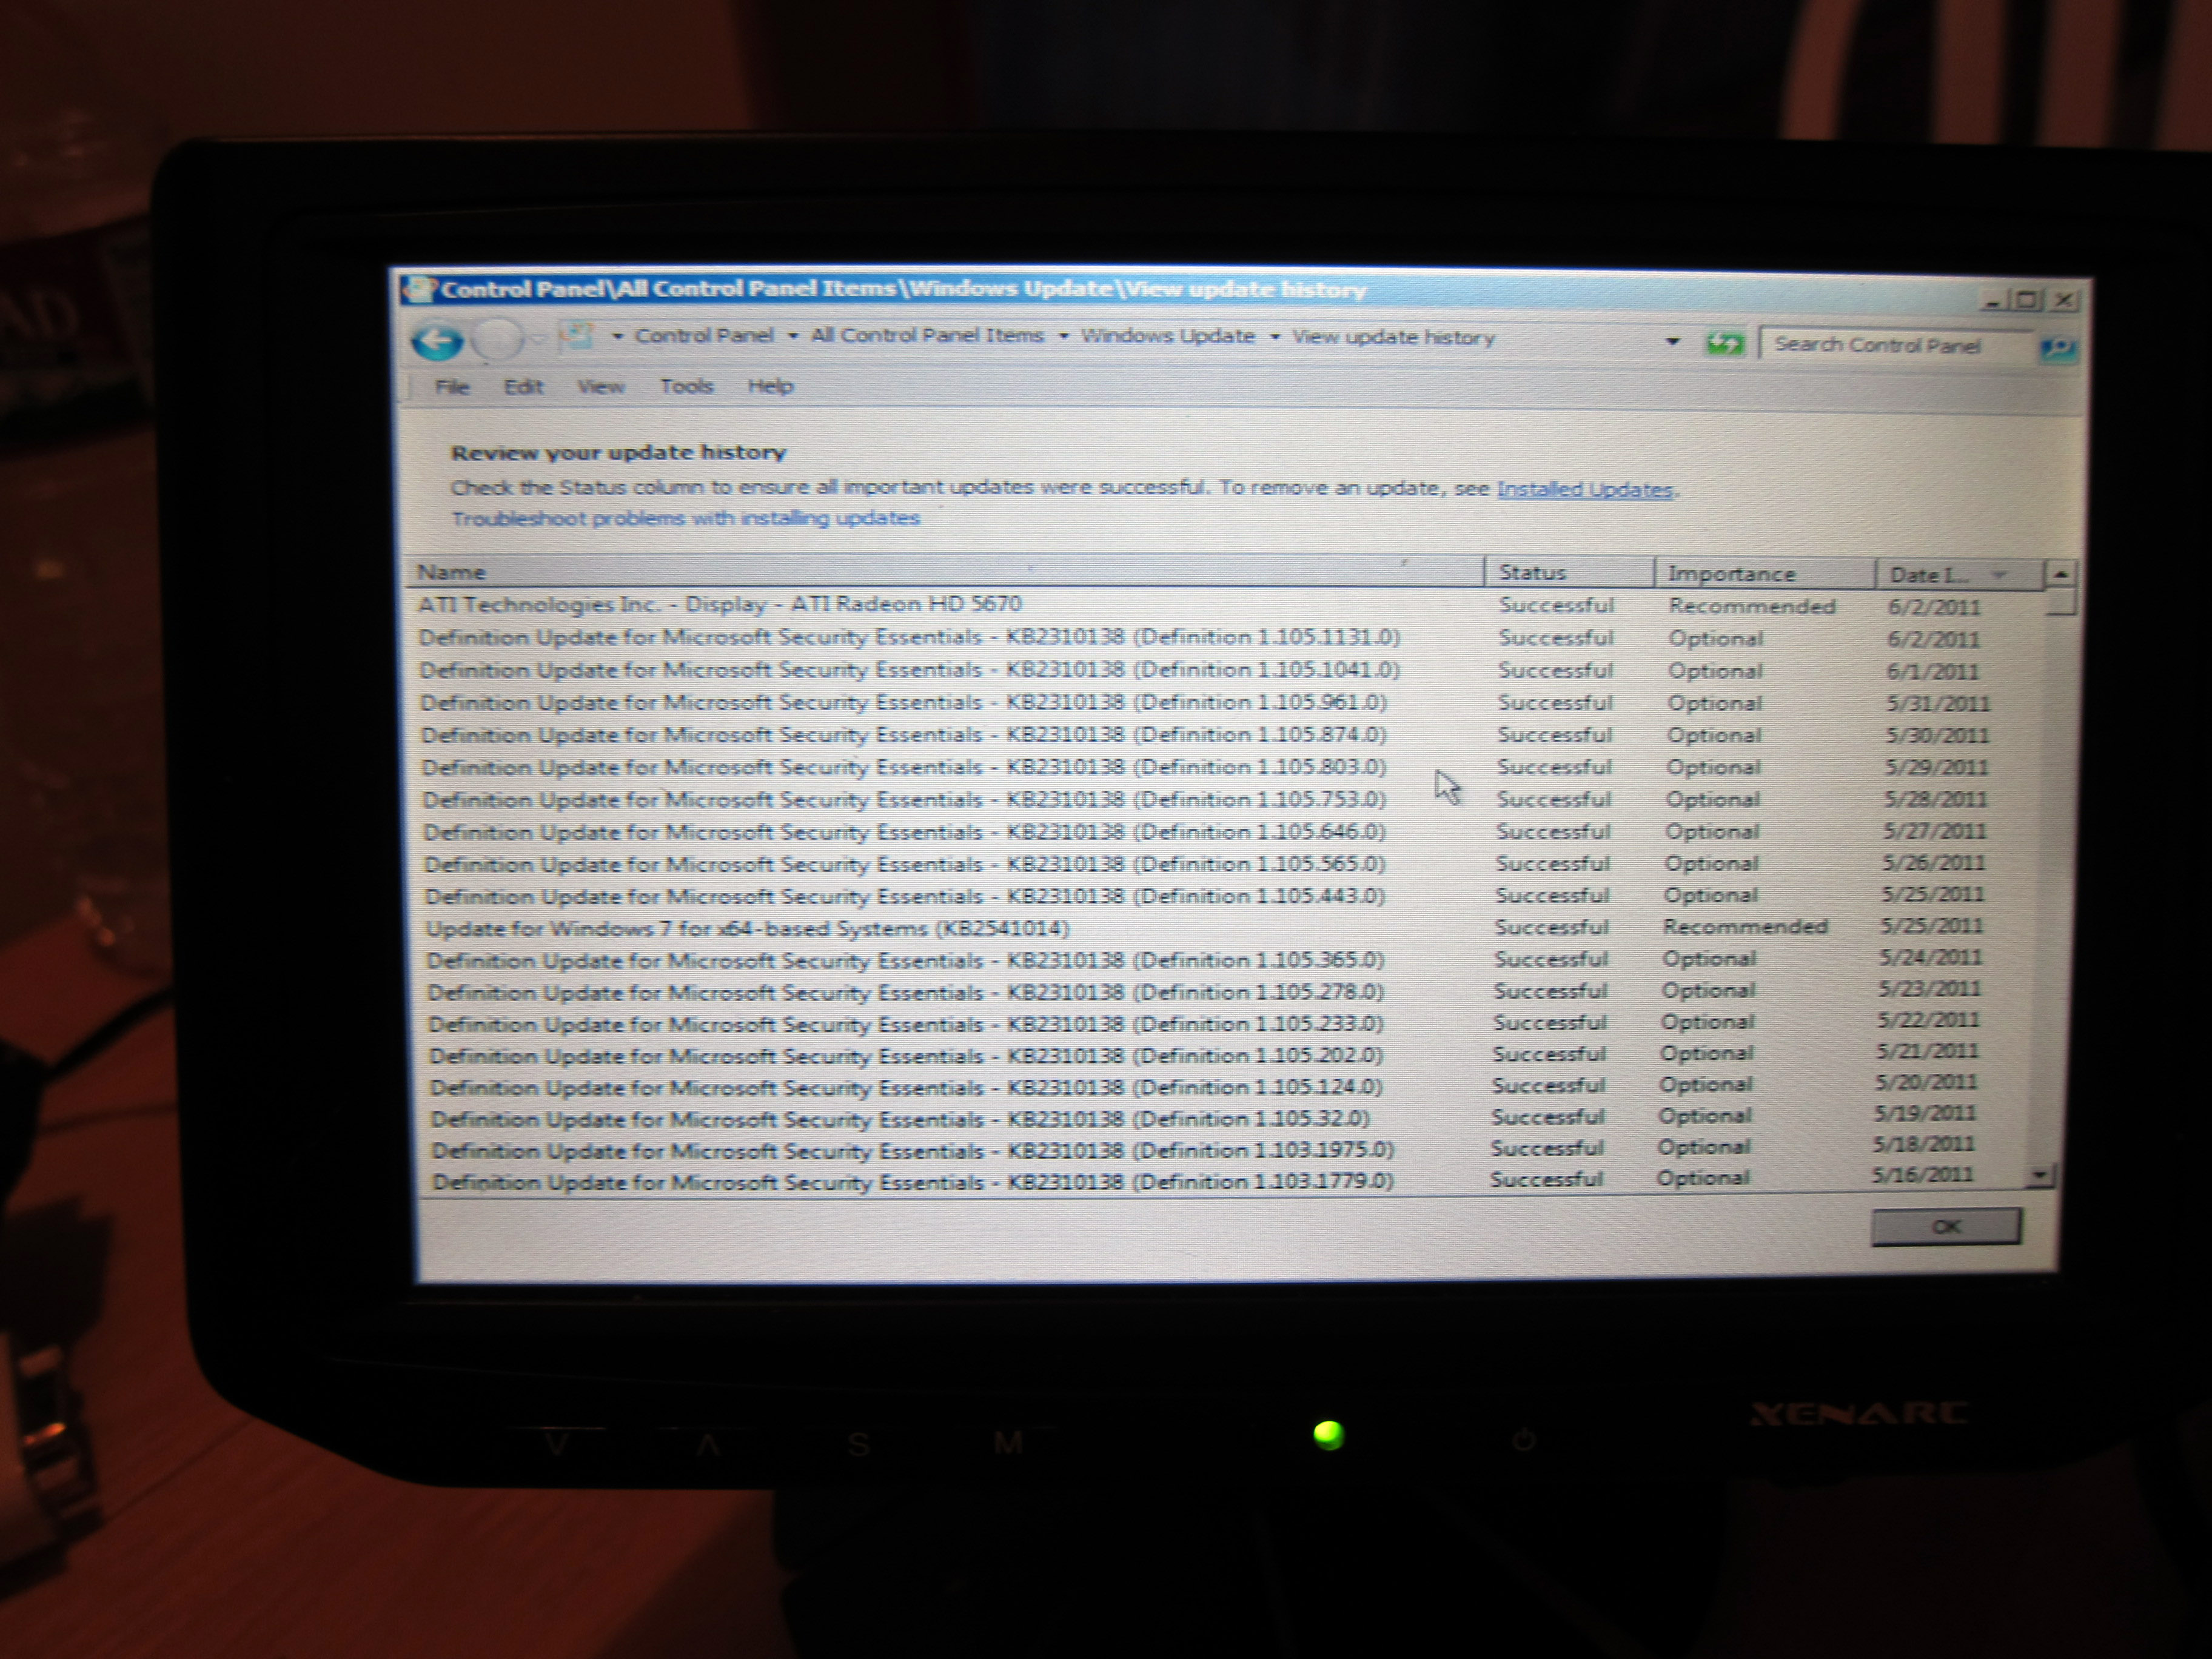
I ran "Windows Update", and exactly like it is supposed to, Windows Update downloaded the drivers it needs for the MSI ATX Radeon HD R5670 graphics card. PERFECT, I like it when automatic plug and play stuff works. :-)

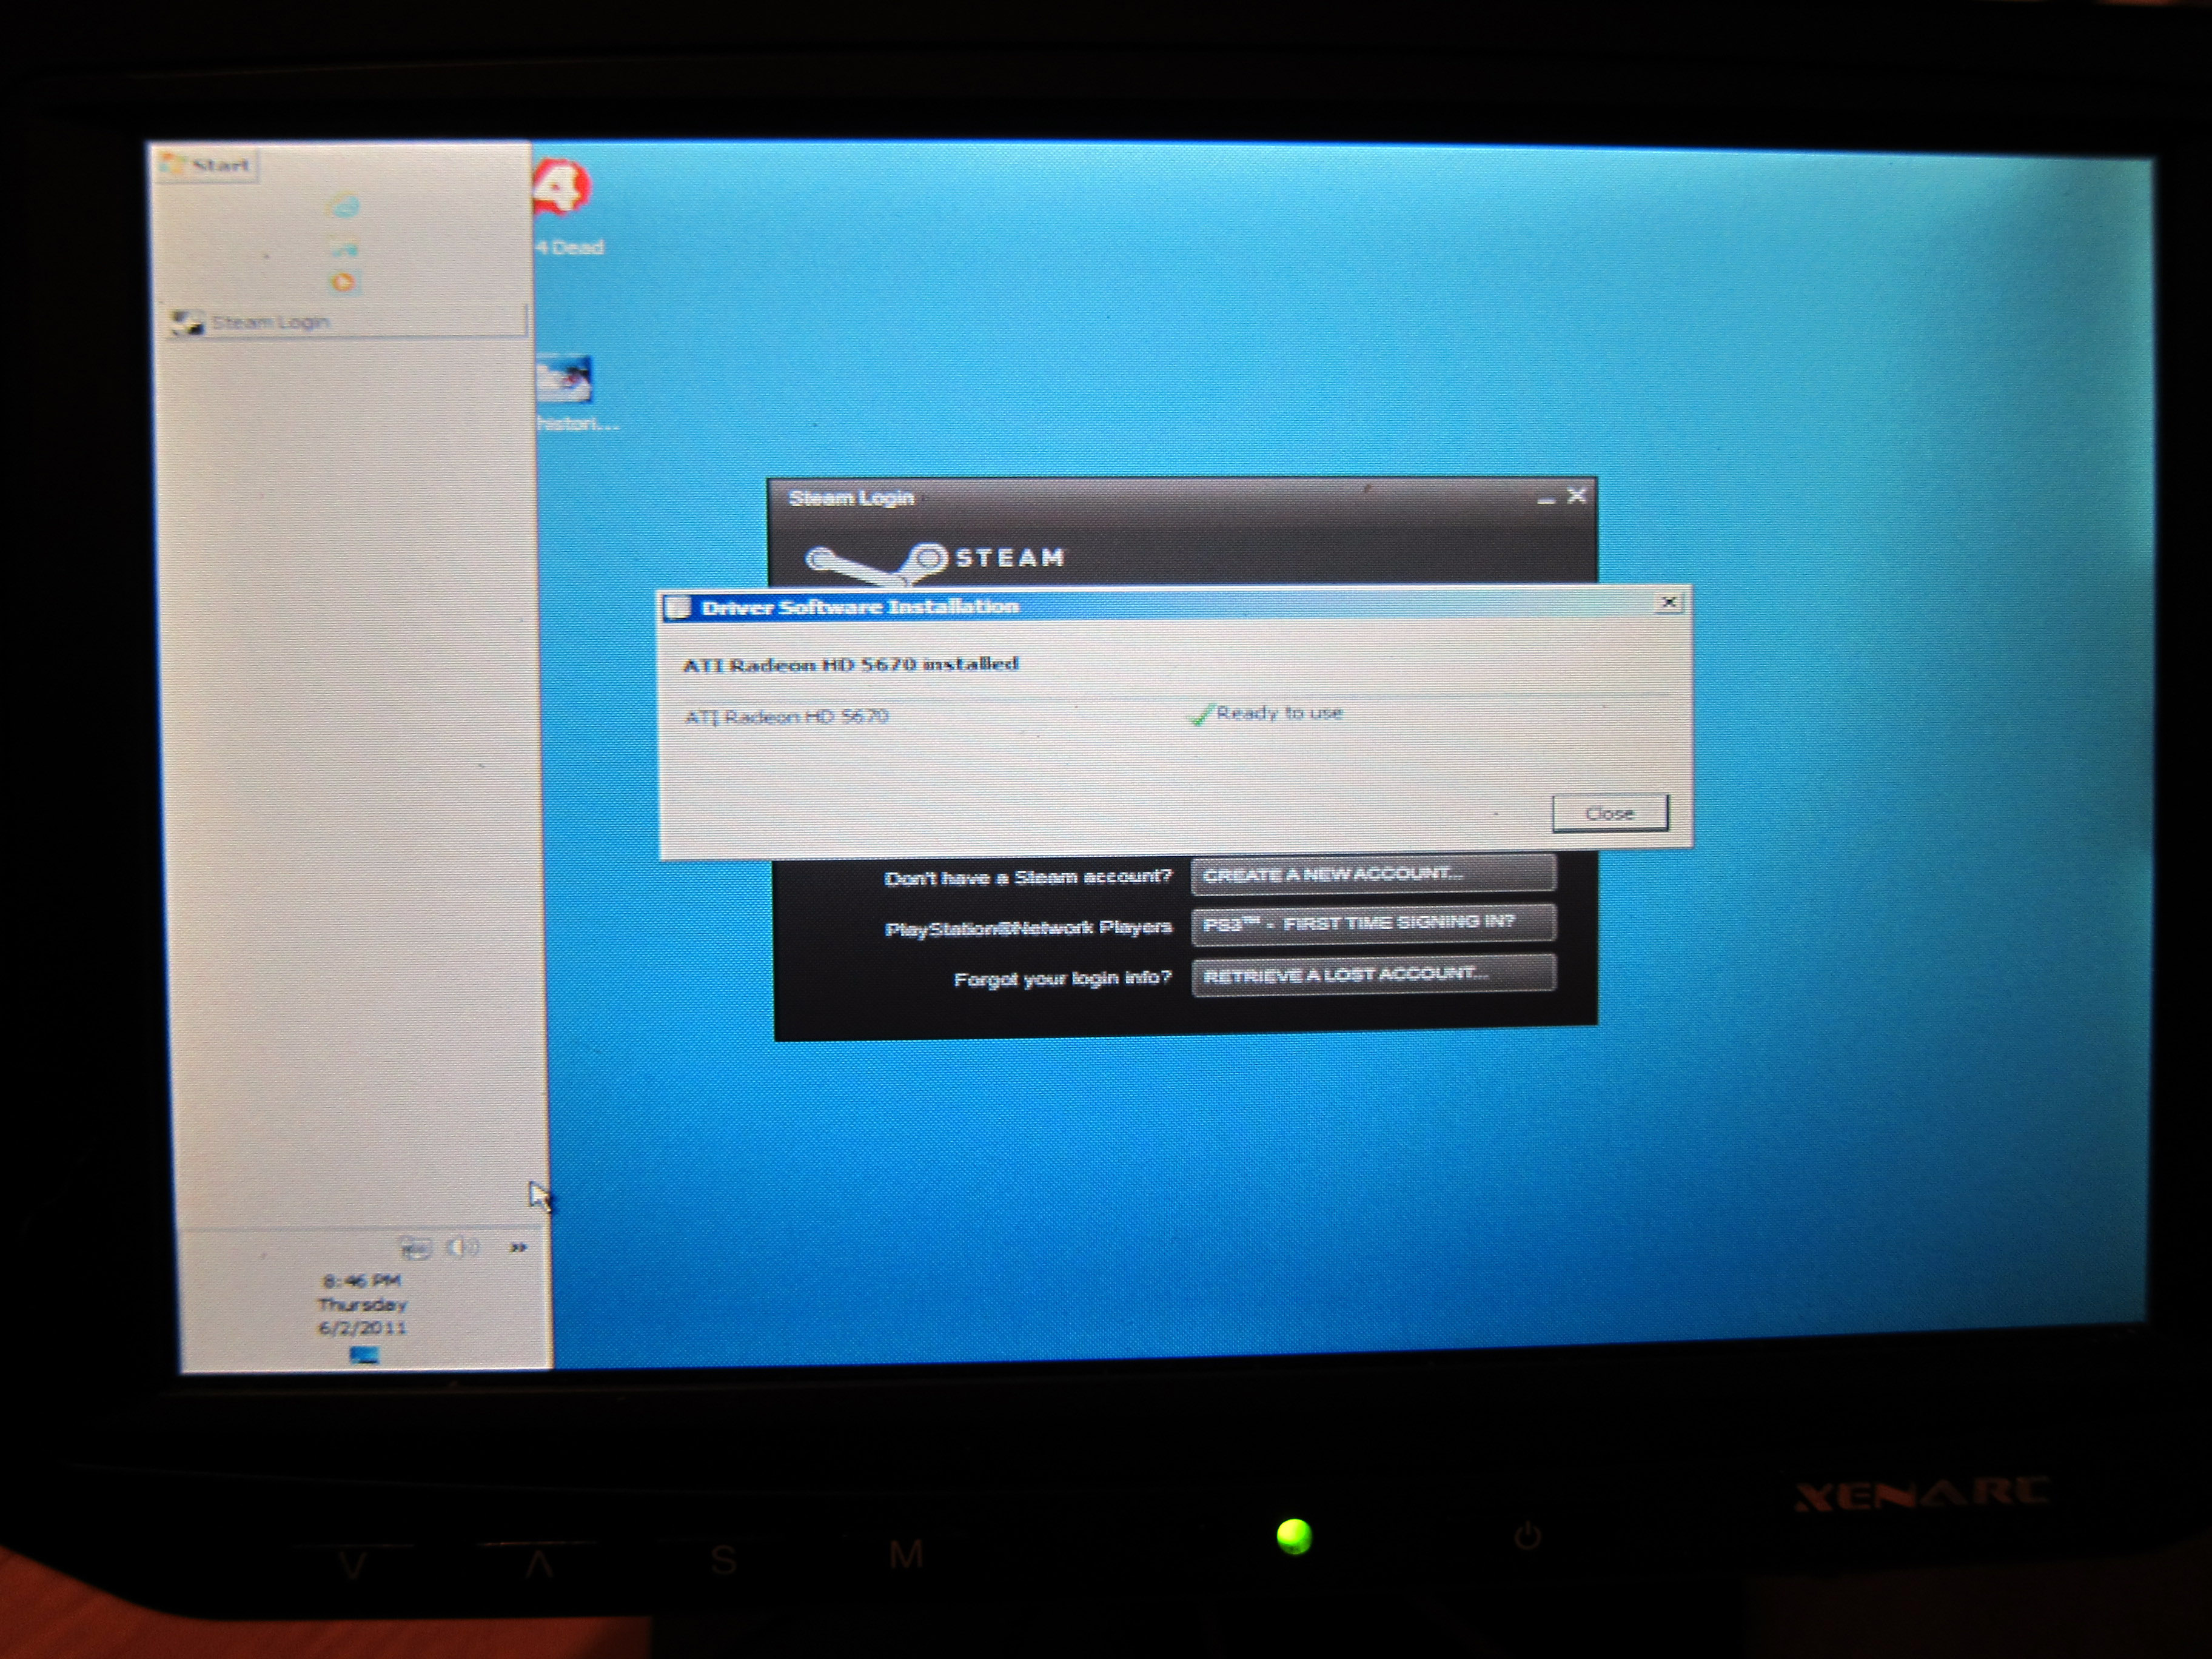
Here you see the name of the driver that was just automatically installed. ATI Radeon HD 5670.
And after a reboot and I log in, I get this message saying everything is healthy.
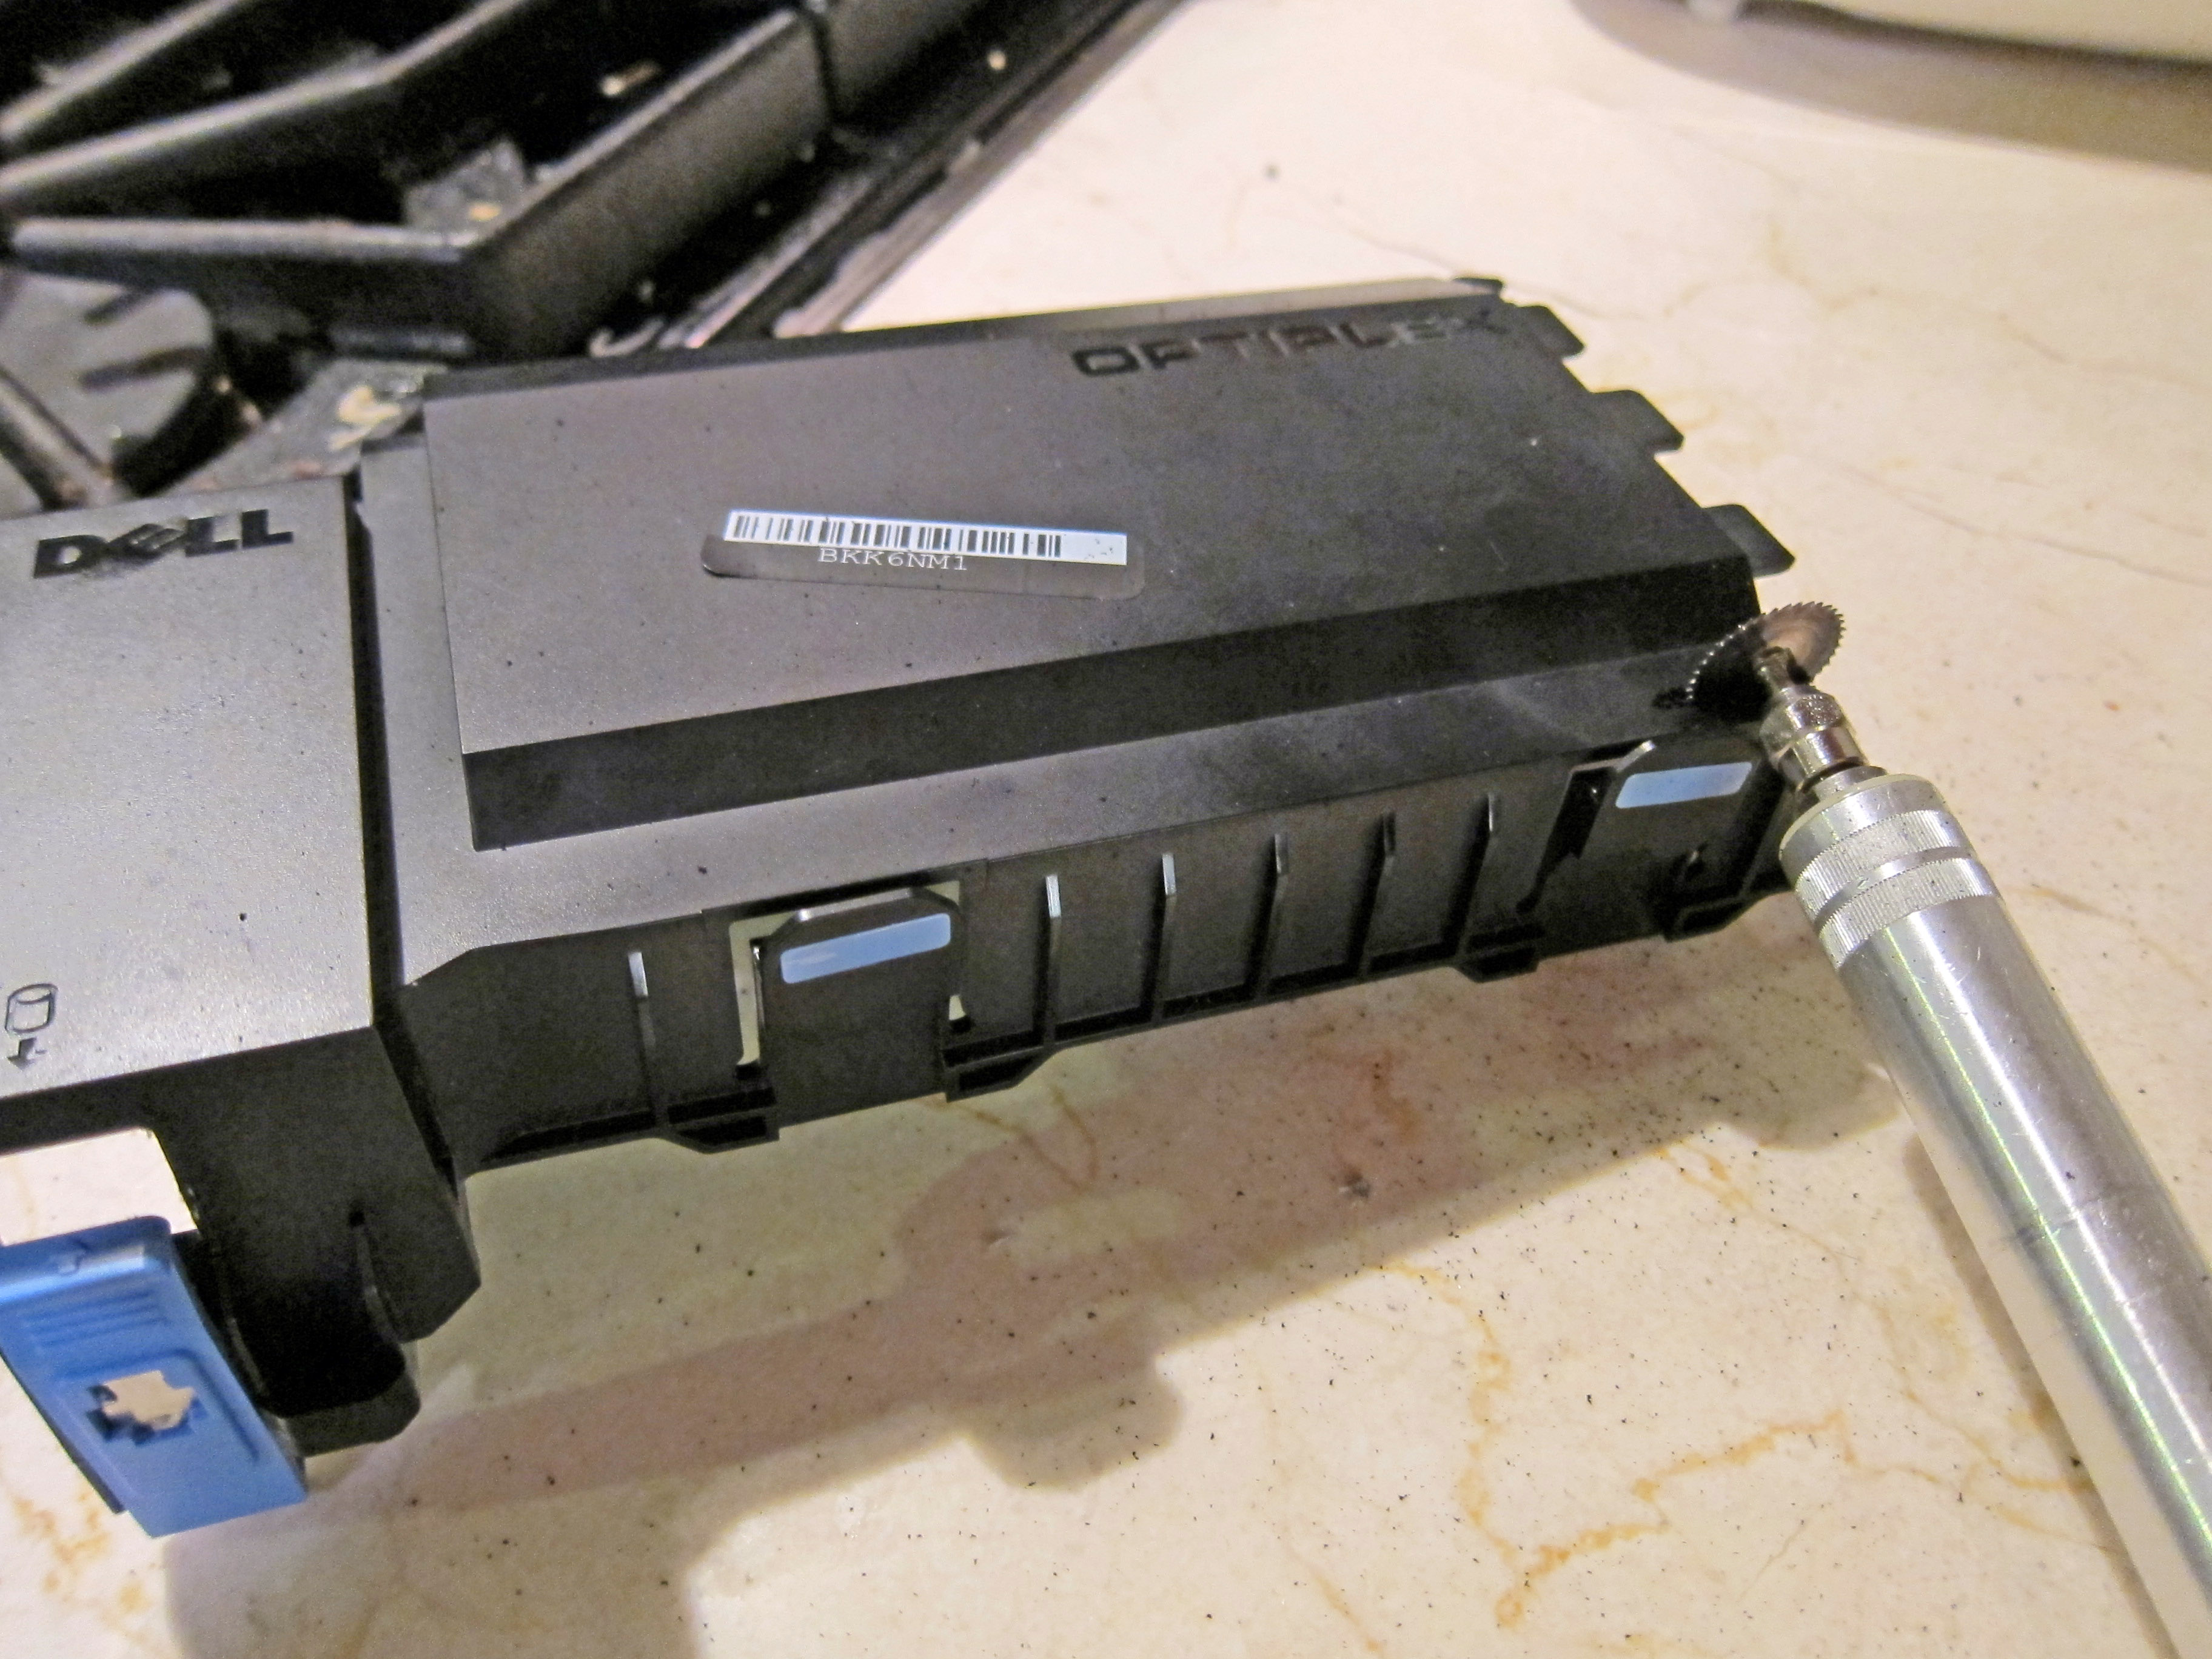
Ok, when I go to close up the Dell 980 case, I find out one more problem! The hard drive is in a caddy, and it won't fit anymore because the graphics card is too wide. So in the picture below I cut off the side of the caddy on the red dots.
Here it is fully cut to pieces. Do you think the warranty is void now? :-)
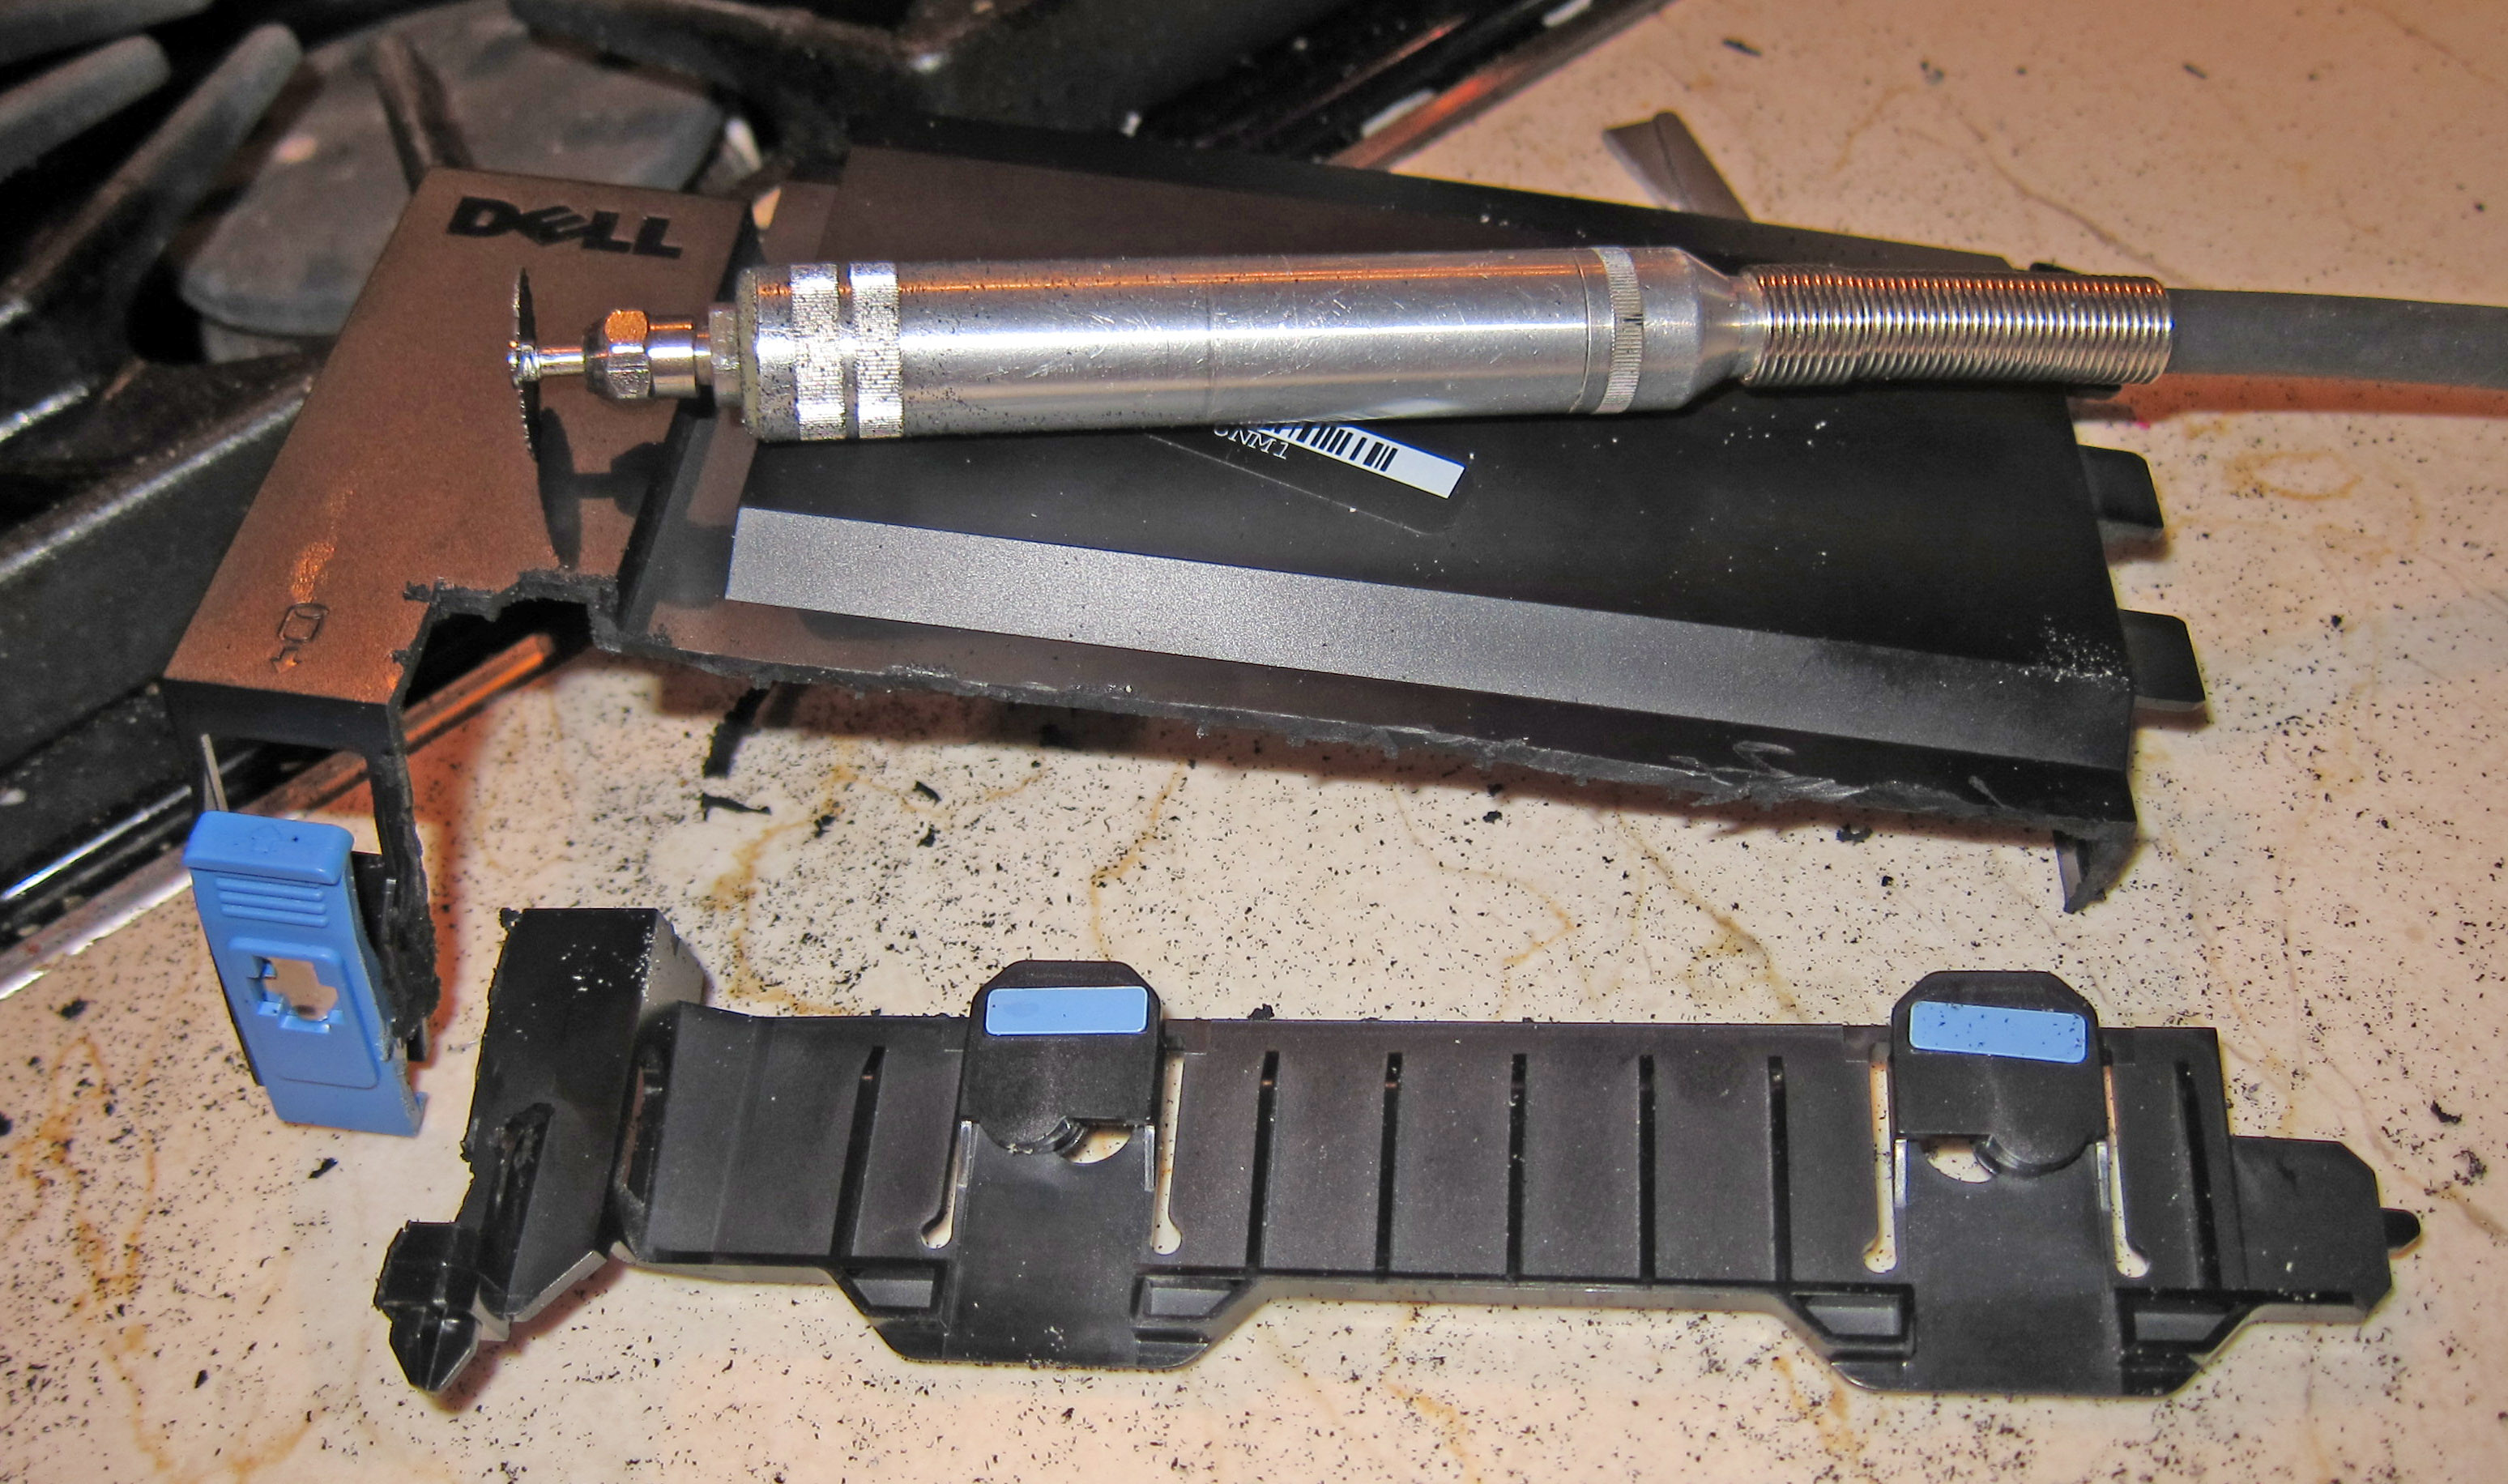
Since I cut off the side of the caddy, I attach the hard drive to the caddy with electrical tape. You can see the electrical tape in the red circles in the picture below. The point "P" in the picture below will rotate down and press up against the new graphics card.
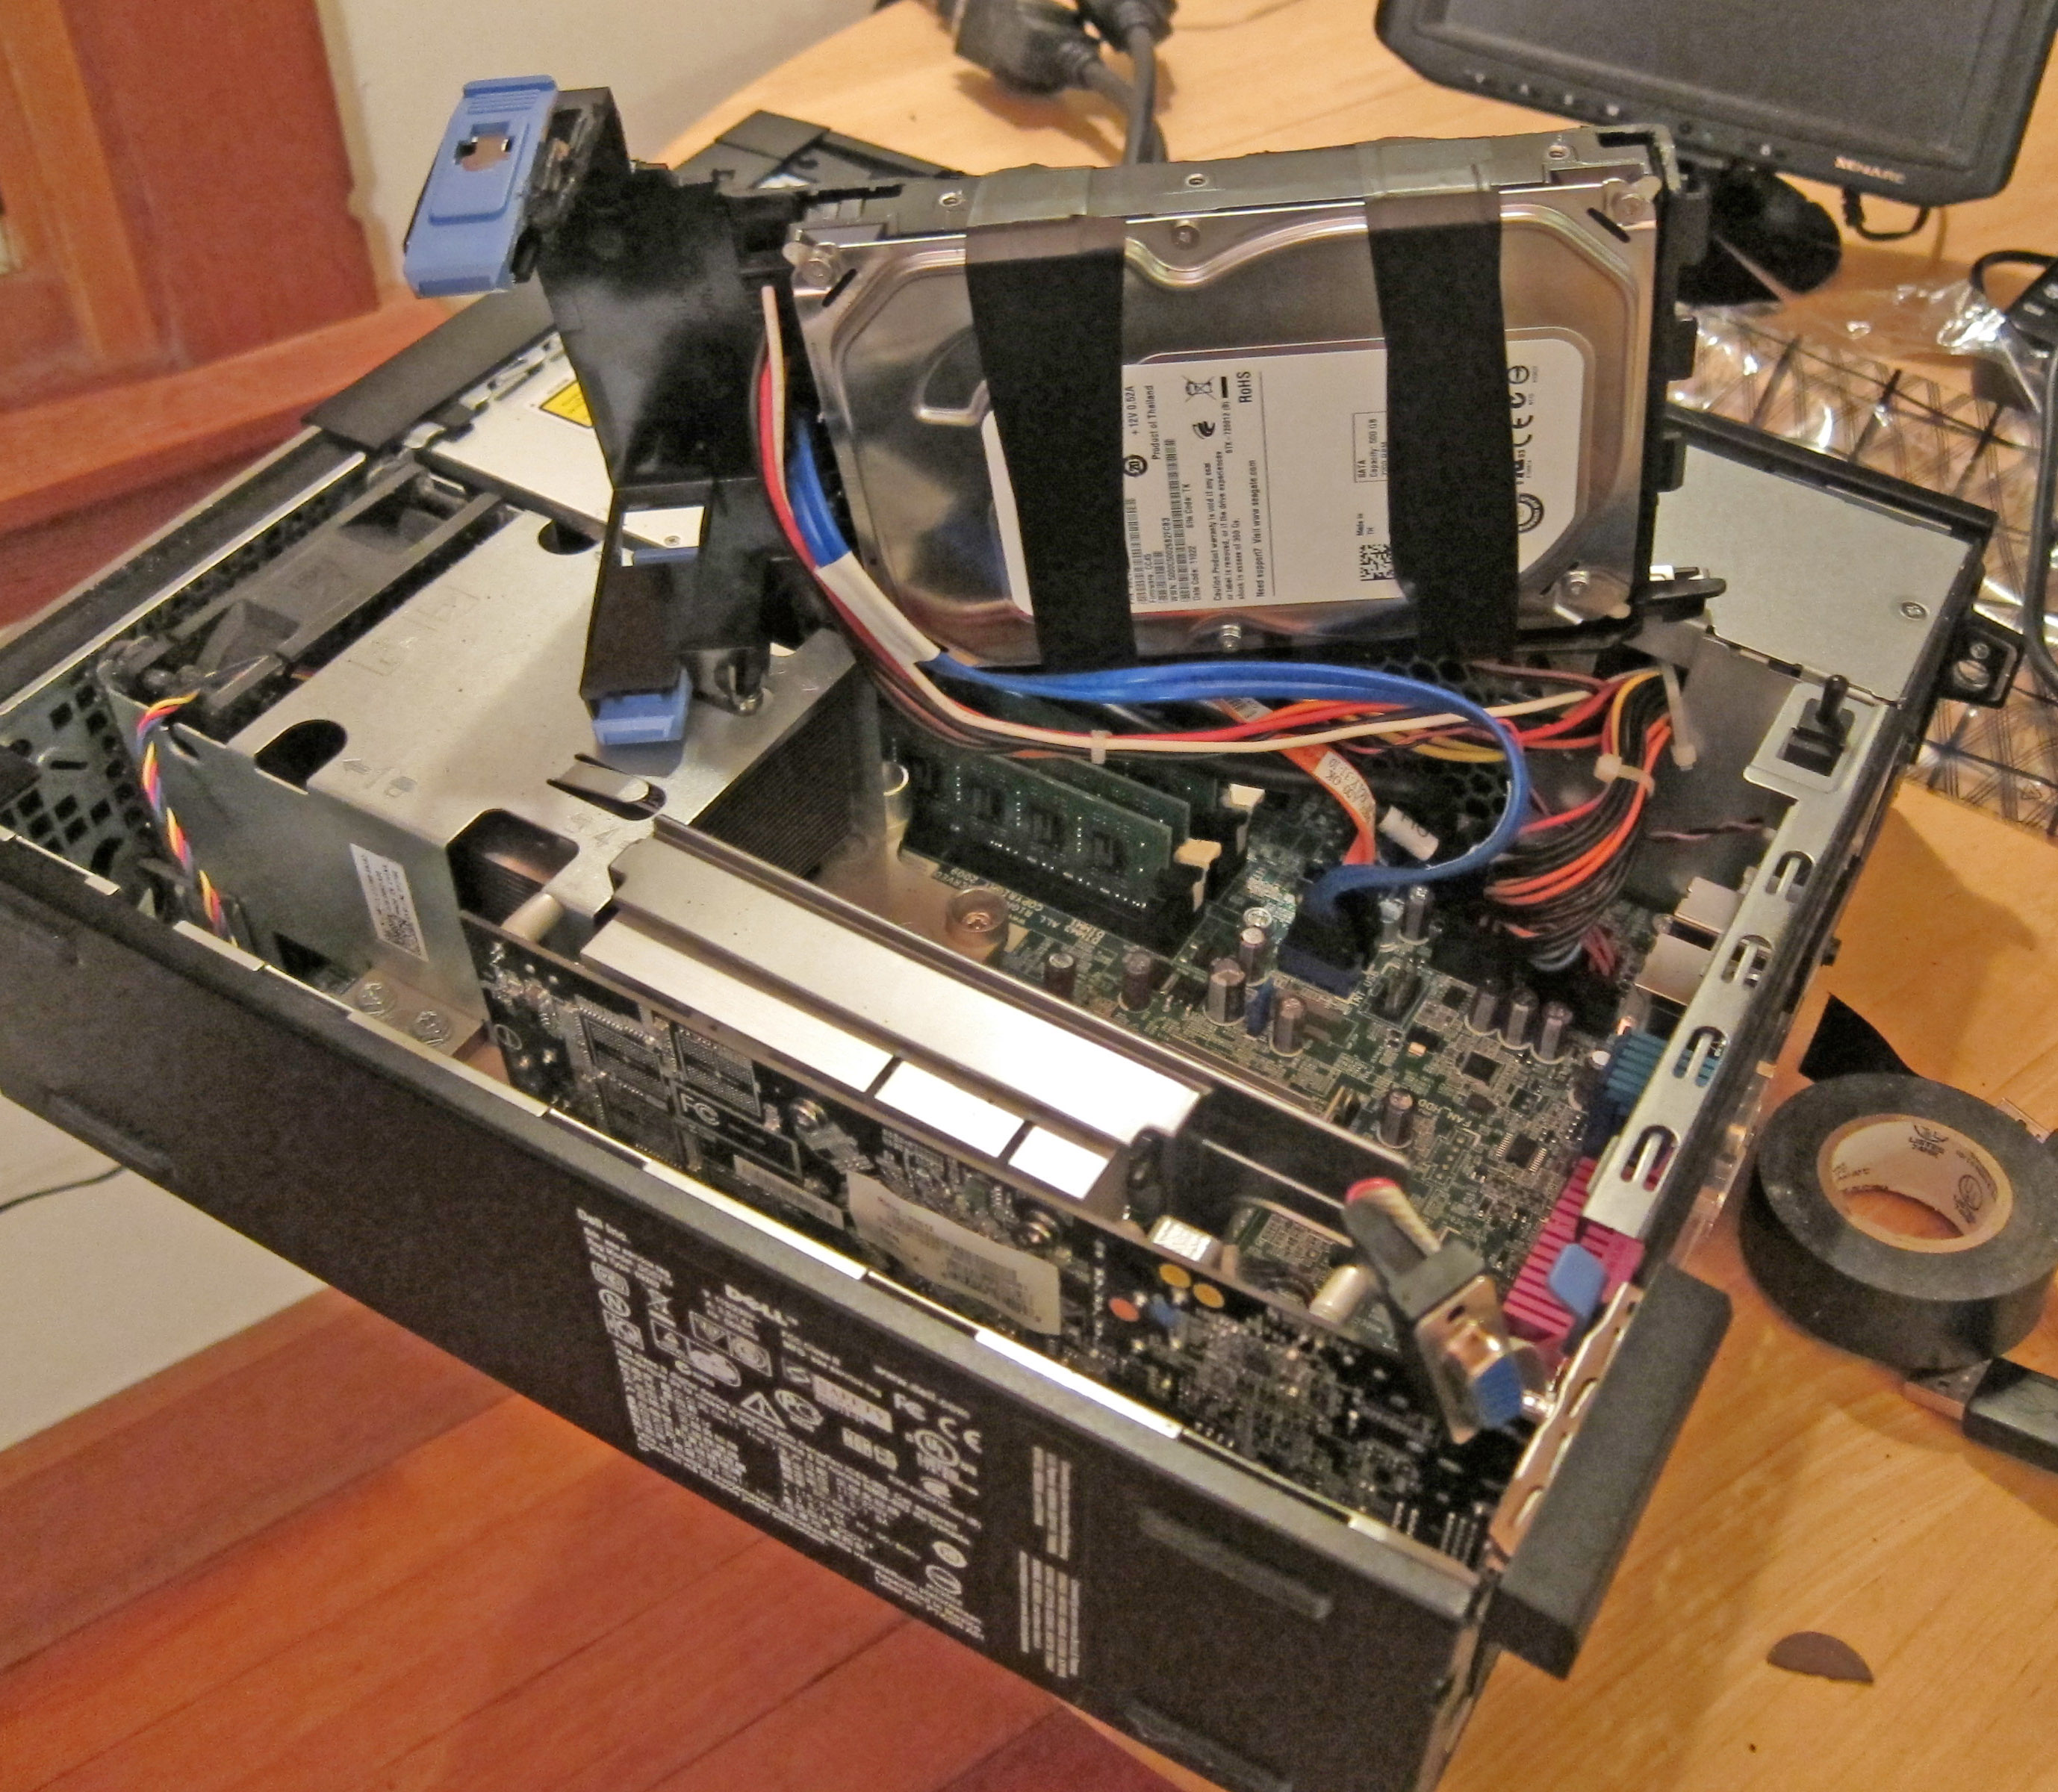
After all that, when I closed the case it put pressure on the fans on the graphics card and caused bad noises. So I had to cut the blue legs off the drive caddy and lay it slightly cornerwise to the original config. If you look at point "Q" below, it is laying over the TOP of a part it was supposed to be side by side with. This means I won't be able to close the case fully, it adds about 1/4" to the height of the internals parts. Also notice where "R" points at the fans on the graphics card, that gap pointed to by "R" shows how I aimed the hard drive caddy kitty-corner to avoid the fans.

In the picture below the Dell 980 is completely closed up. Since I can't quite close the lid properly, I used electrical tape around the edges to seal off the 1/4" gap and keep everything in place. I was careful not to block any ventilation holes, but I wanted to close up any gaps so that the original ventilation of the computer would work as close to design as possible.

And here is the final computer all sealed up and standing on edge like it normally is supposed to stand. The red arrows below point out the electrical tape spanning the 1/4" gap where I can no longer close the Dell 980 properly.
That's it, all done! I cranked up the resolution to maximum (2560x1600) and played some video games for 15 minutes and it did not catch on fire or crash. I'll update this webpage if and when it explodes and dies. :-)
![]()